Mastering Isolation Lash Extensions Techniques
So, you've nailed the basics of lash extensions, and now you're eyeing the fast lane – needing some advanced lash techniques like isolation lash extensions to score more clients and cash as an artist. Buckle up, because we're diving into the world of super-fast lashes. But hold on, zooming through appointments doesn't mean sacrificing quality. We're all about fast, fab, and flawless.
Let LavisLash support you on your journey of learning about eyelash extension techniques with knowledge sourced from high-quality references and top-notch products.
If you wish to read more on the subject, please explore our other blog posts below:
How to Get Faster at Applying Lash Extensions?
10 Expert Tips for Faster Volume Set Completion
The Quest for Speed
Time is money, especially in the glam game. Being quick on your lash feet isn't just cool; it's a game-changer for your lash biz. But here's the deal: don't rush and ruin things. Speed without skill can mess up both your rep and your client's lashes. The real trick is being turbo while keeping those lashes safe and separated.Isolation Lash Extensions
Now, let's talk about the heart of the matter: isolating lashes. It's like the secret sauce of quick lashing. It's not just about being faster than The Flash; it's about nailing the technique so your client's natural lashes stay happy.Guide to isolate eyelash layers
Preparation:- Ensure the client's lashes are clean and makeup-free.
- Set up your workspace with proper lighting.
- Place under eye pads or gel patches to protect the lower lashes and skin.
- Comb the natural lashes to separate and straighten them.
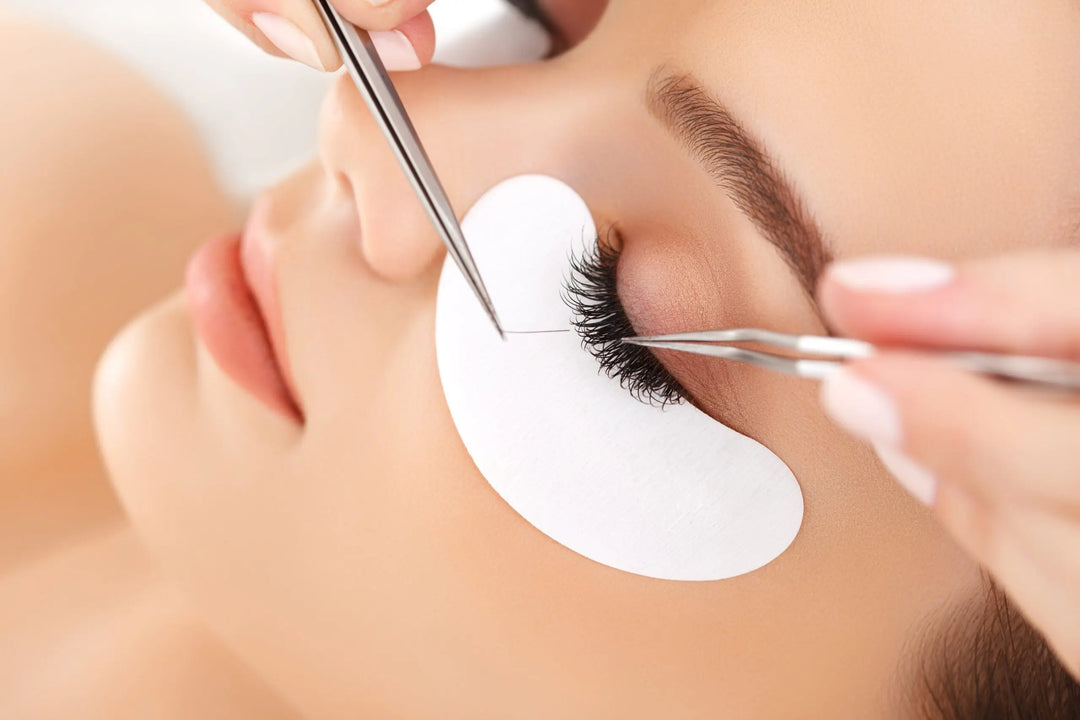
- Use straight tweezers to isolate a thin layer of natural lashes.
- Hold other lashes out of the way using curved tweezers.
- Pick up an extension with curved tweezers.
- Dip the extension's base into adhesive, avoiding excess glue.
- Place the extension on the isolated natural lash, a short distance from the eyelid.
- Hold the extension briefly for the adhesive to bond.
- Repeat the process, moving across the lash line.
Adjustment and Completion:
We've got some tricks to help you isolate like a pro in record time.
- Use a lash comb/brush to separate extensions that might have stuck together.
- Continue isolating and applying extensions to other lash layers.
- Inspect your work to ensure proper isolation and bonding.
- Use an air blower or fan to help the adhesive cure, if needed.
- Inform the client about proper aftercare practices.
Which hand do you isolate lashes with?
The choice of hand for lash isolation largely depends on personal preference and comfort. Some lash artists prefer using their dominant hand for isolating lashes, as it offers more control. Others opt for their non-dominant hand, reserving the dominant hand for holding the extension. Ultimately, the hand you choose should allow for steady control and accuracy during the isolation process.Tips to do isolation with different tools
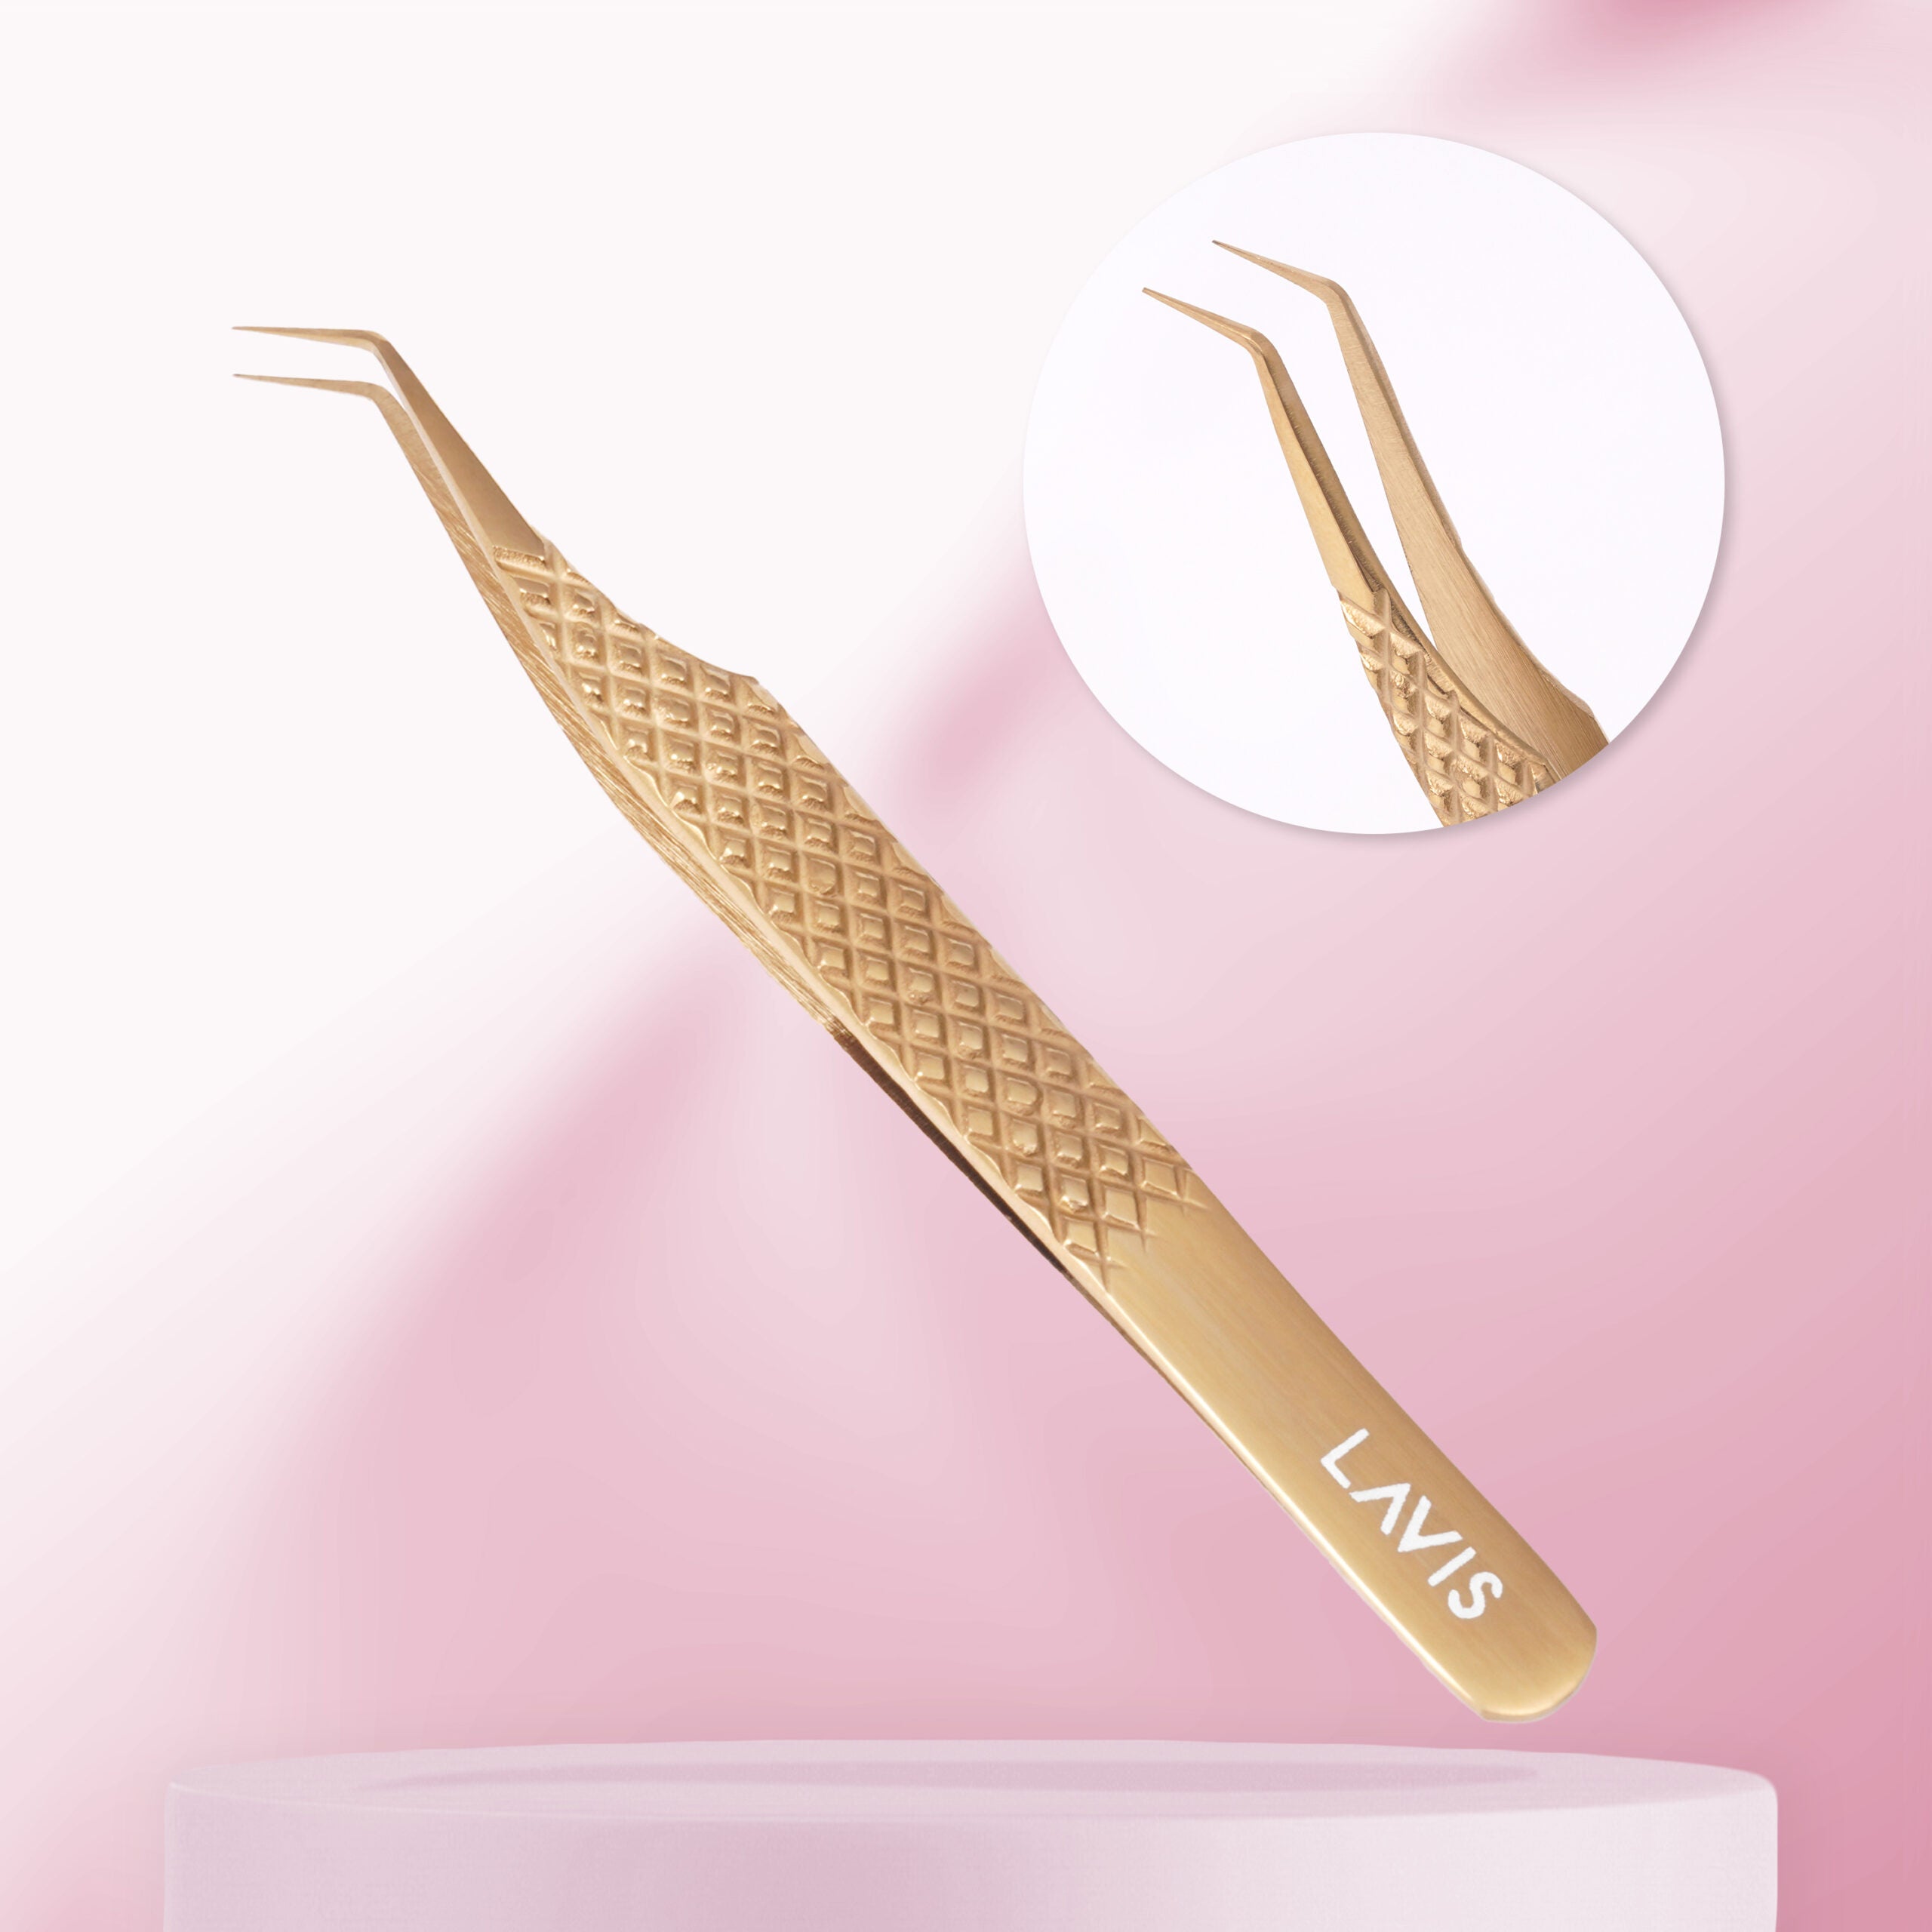
- Twin Tweezer Magic: Time to tag in both your tweezers – the dynamic duo you never knew you needed. It's like playing good cop, bad cop, but with tweezers. Hold your isolation tweezer downward while your pick-up twezer goes up, moving those lashes away for a clear view. Your hand angle might be as unique as your style, so tinker around to find the sweet spot.
- Finger Power: If double tweezers feel like patting your head and rubbing your belly at the same time, your fingers are here to rescue you. This trick's ace when your client's already rocking extensions. Use your ring finger to sweep most lashes aside, giving your other hand space to isolate with a tweezer. Just a heads-up, go for hand hygiene that’s squeaky clean.
- Tape Tango: Say hello to your not-so-secret weapon – tape. It's the savior when you're faced with a lash jungle. Pro tip: don't go super sticky; detack it a bit so your client doesn't wince. Detack by slapping it on your arm first. With tape, isolating one lash layer at a time is a cakewalk, and say goodbye to lash stickies.
- Gel Pads Galore: Need a gentler touch? Gel pads are the heroes. They're like those squishy stress balls but for your lash game. They're perfect for adjustments and don't pull lashes like tape can. Plus, they're besties with makeup-wearing clients. Gel pads and tape play the same game – isolating one layer at a time to keep things smooth.


Leave a comment