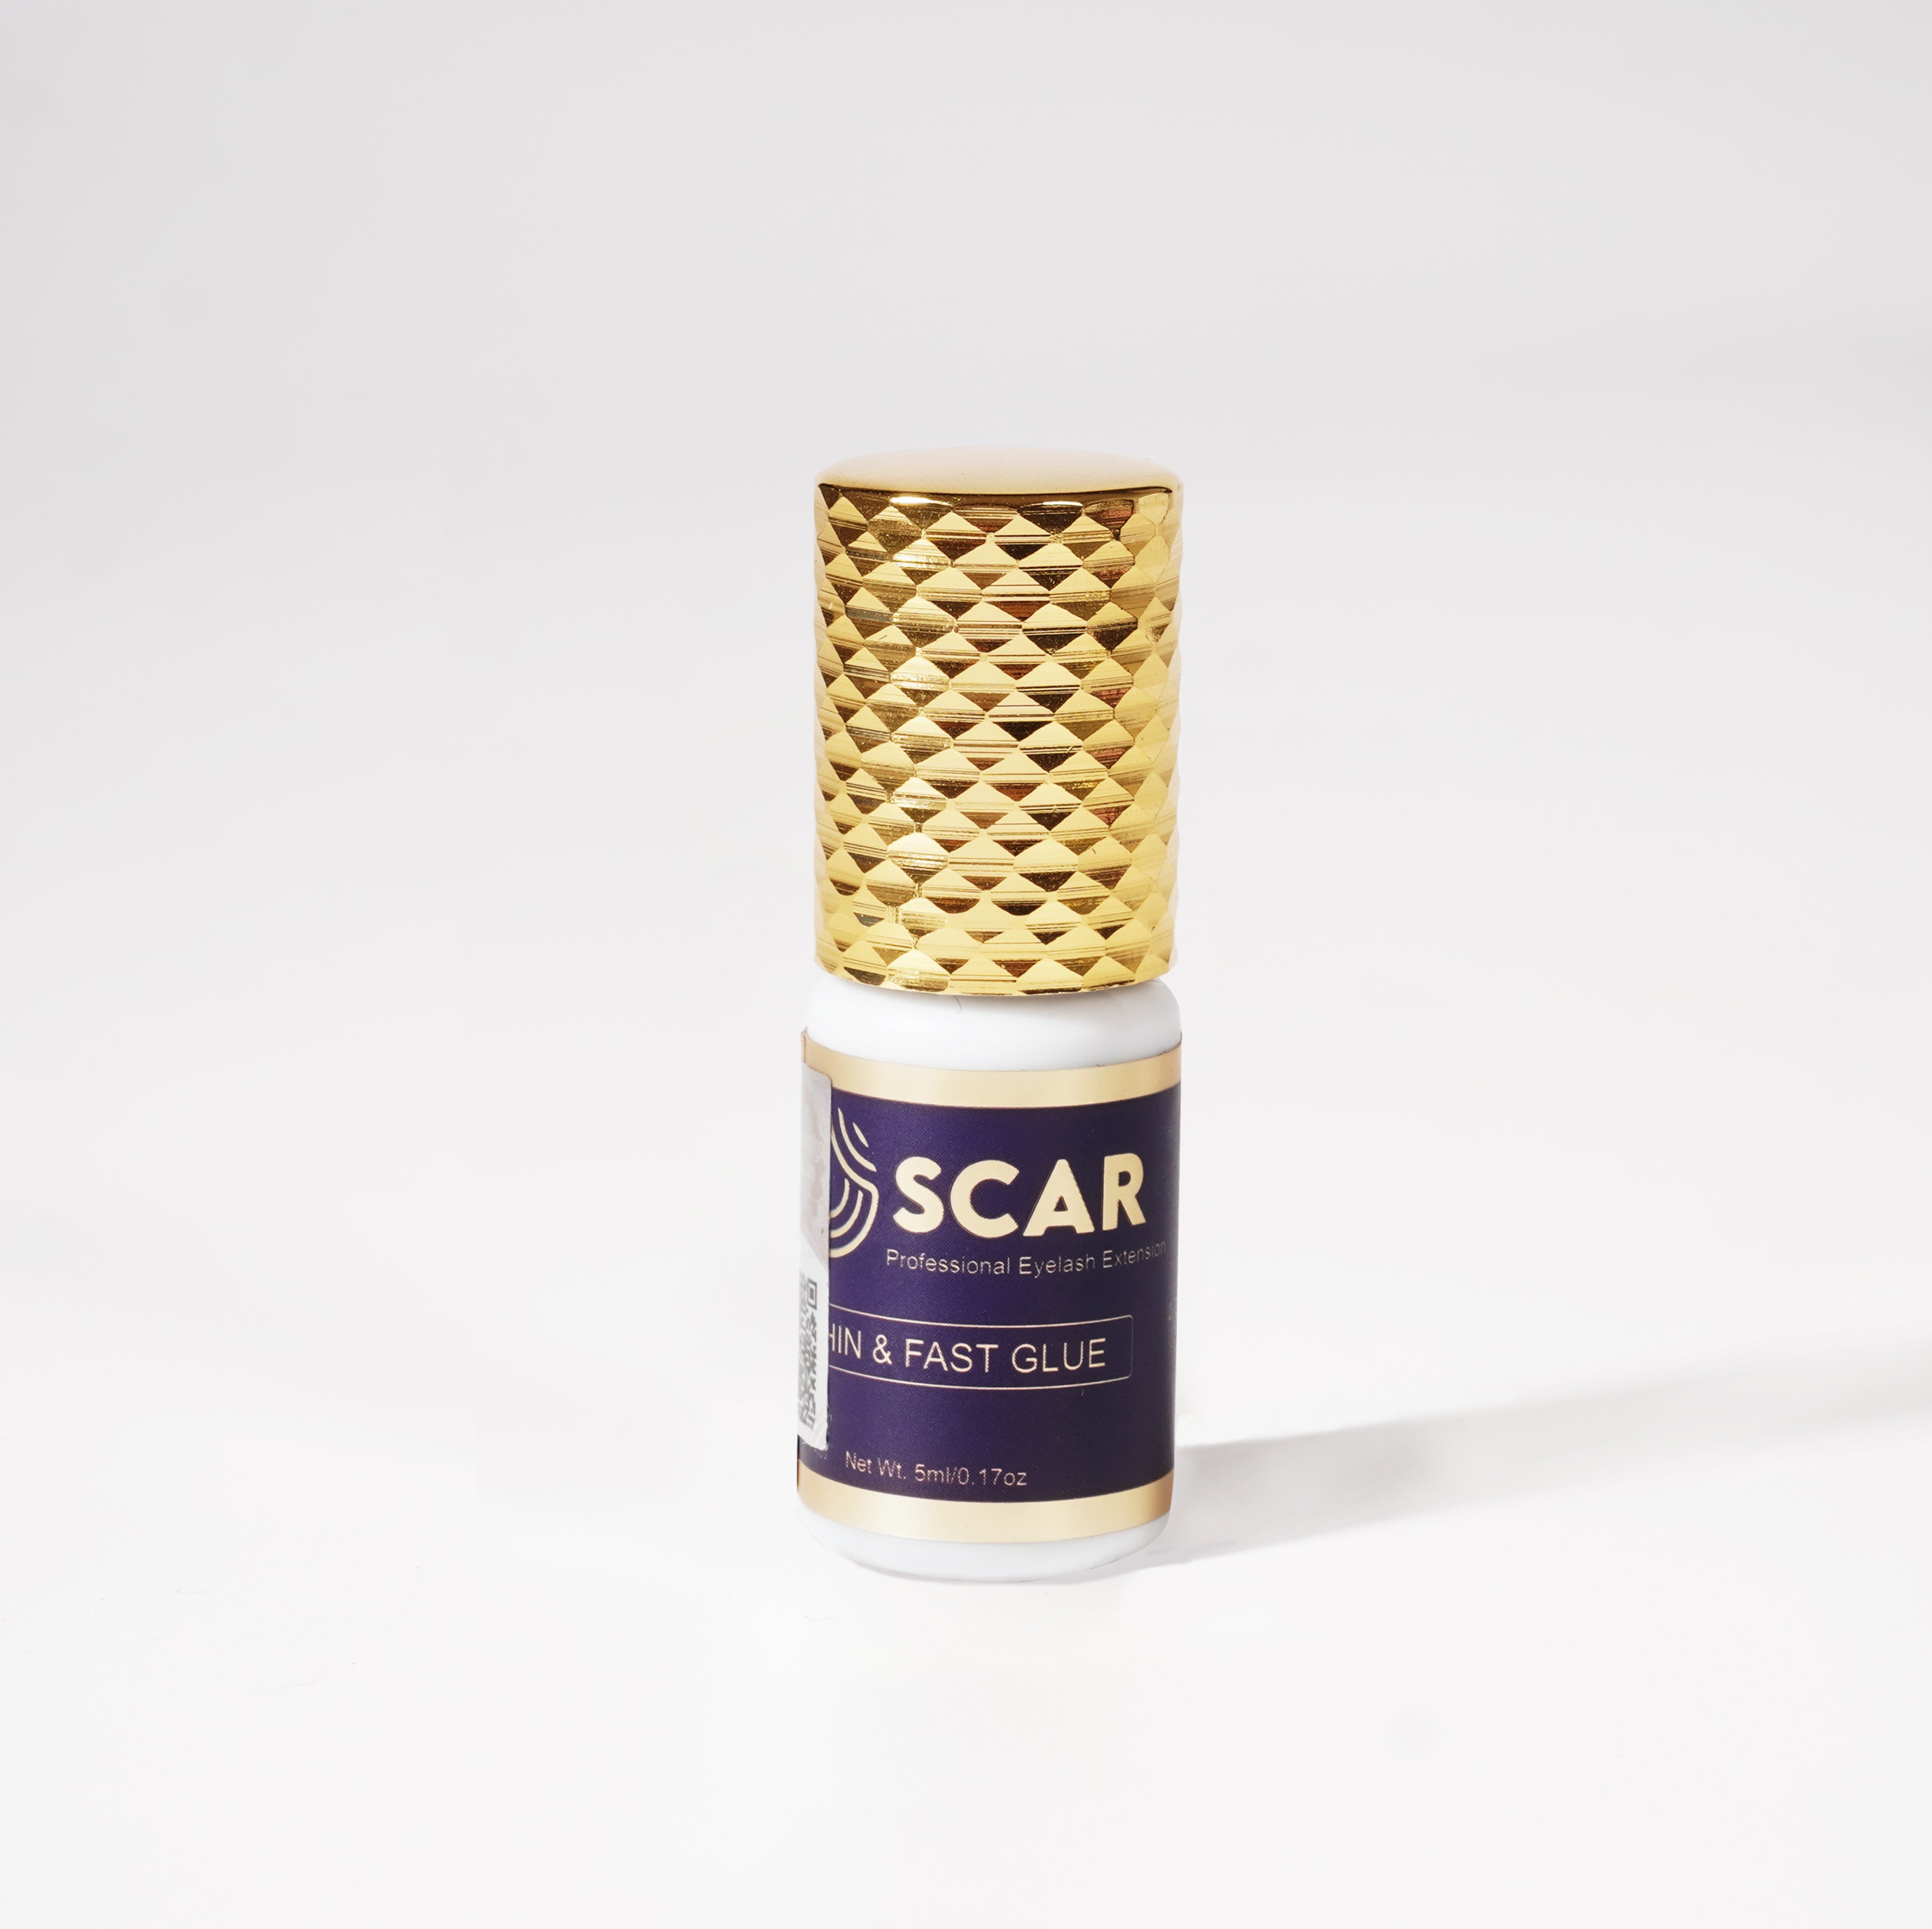
Mastering DIY Lash Extensions with Titan Wild Glue: Step-by-Step Guide
Why Titan Wild Glue is Your Lash BFF
- Humidity Hero: Titan Glue thrives in places with around 40% humidity, but it's no drama queen – it can handle higher humidity up to 70%. No matter where you live, Titan's got your back.
- Long-Lasting Love Affair: When you're investing your time and effort into lash extensions, you want them to last. Titan Glue's got your back with its impressive staying power – around 6 to 7 weeks of lash gorgeousness.
- Quick-Dry Magic: Time is of the essence, and Titan Glue gets it. It dries in just 1-2 seconds, giving you the wiggle room, you need to get those extensions in perfect position.
- Humidity Harmony: From dry deserts to steamy jungles, Titan Glue's got your back. It's a team player in humidity levels ranging from 20% to 75%.
- Waterproof Wonder: Life's unpredictable – you might get caught in the rain or shed a few tears of joy. Titan Glue won't budge, thanks to its oil and water resistance.
Storing Your Titan Wild Glue
Remember, even the mightiest heroes need a place to rest. Store your Titan Glue where it's happy – between temperatures of 10°C to 28°C, with humidity levels between 40% and 70%. This TLC will keep your glue ready for action whenever you're ready to create your next lash masterpiece. And there you have it, a journey into the world of DIY lash extensions with Titan Glue by your side. The power to rock those head-turning lashes is in your hands. Get ready to embrace your inner lash artist and unleash the magic of Titan Glue!DIY Lash Tutorial
Alright, let's dive into the good stuff – creating those jaw-dropping lash extensions from the comfort of your home:
Step 1: Set Up Your Beauty Area
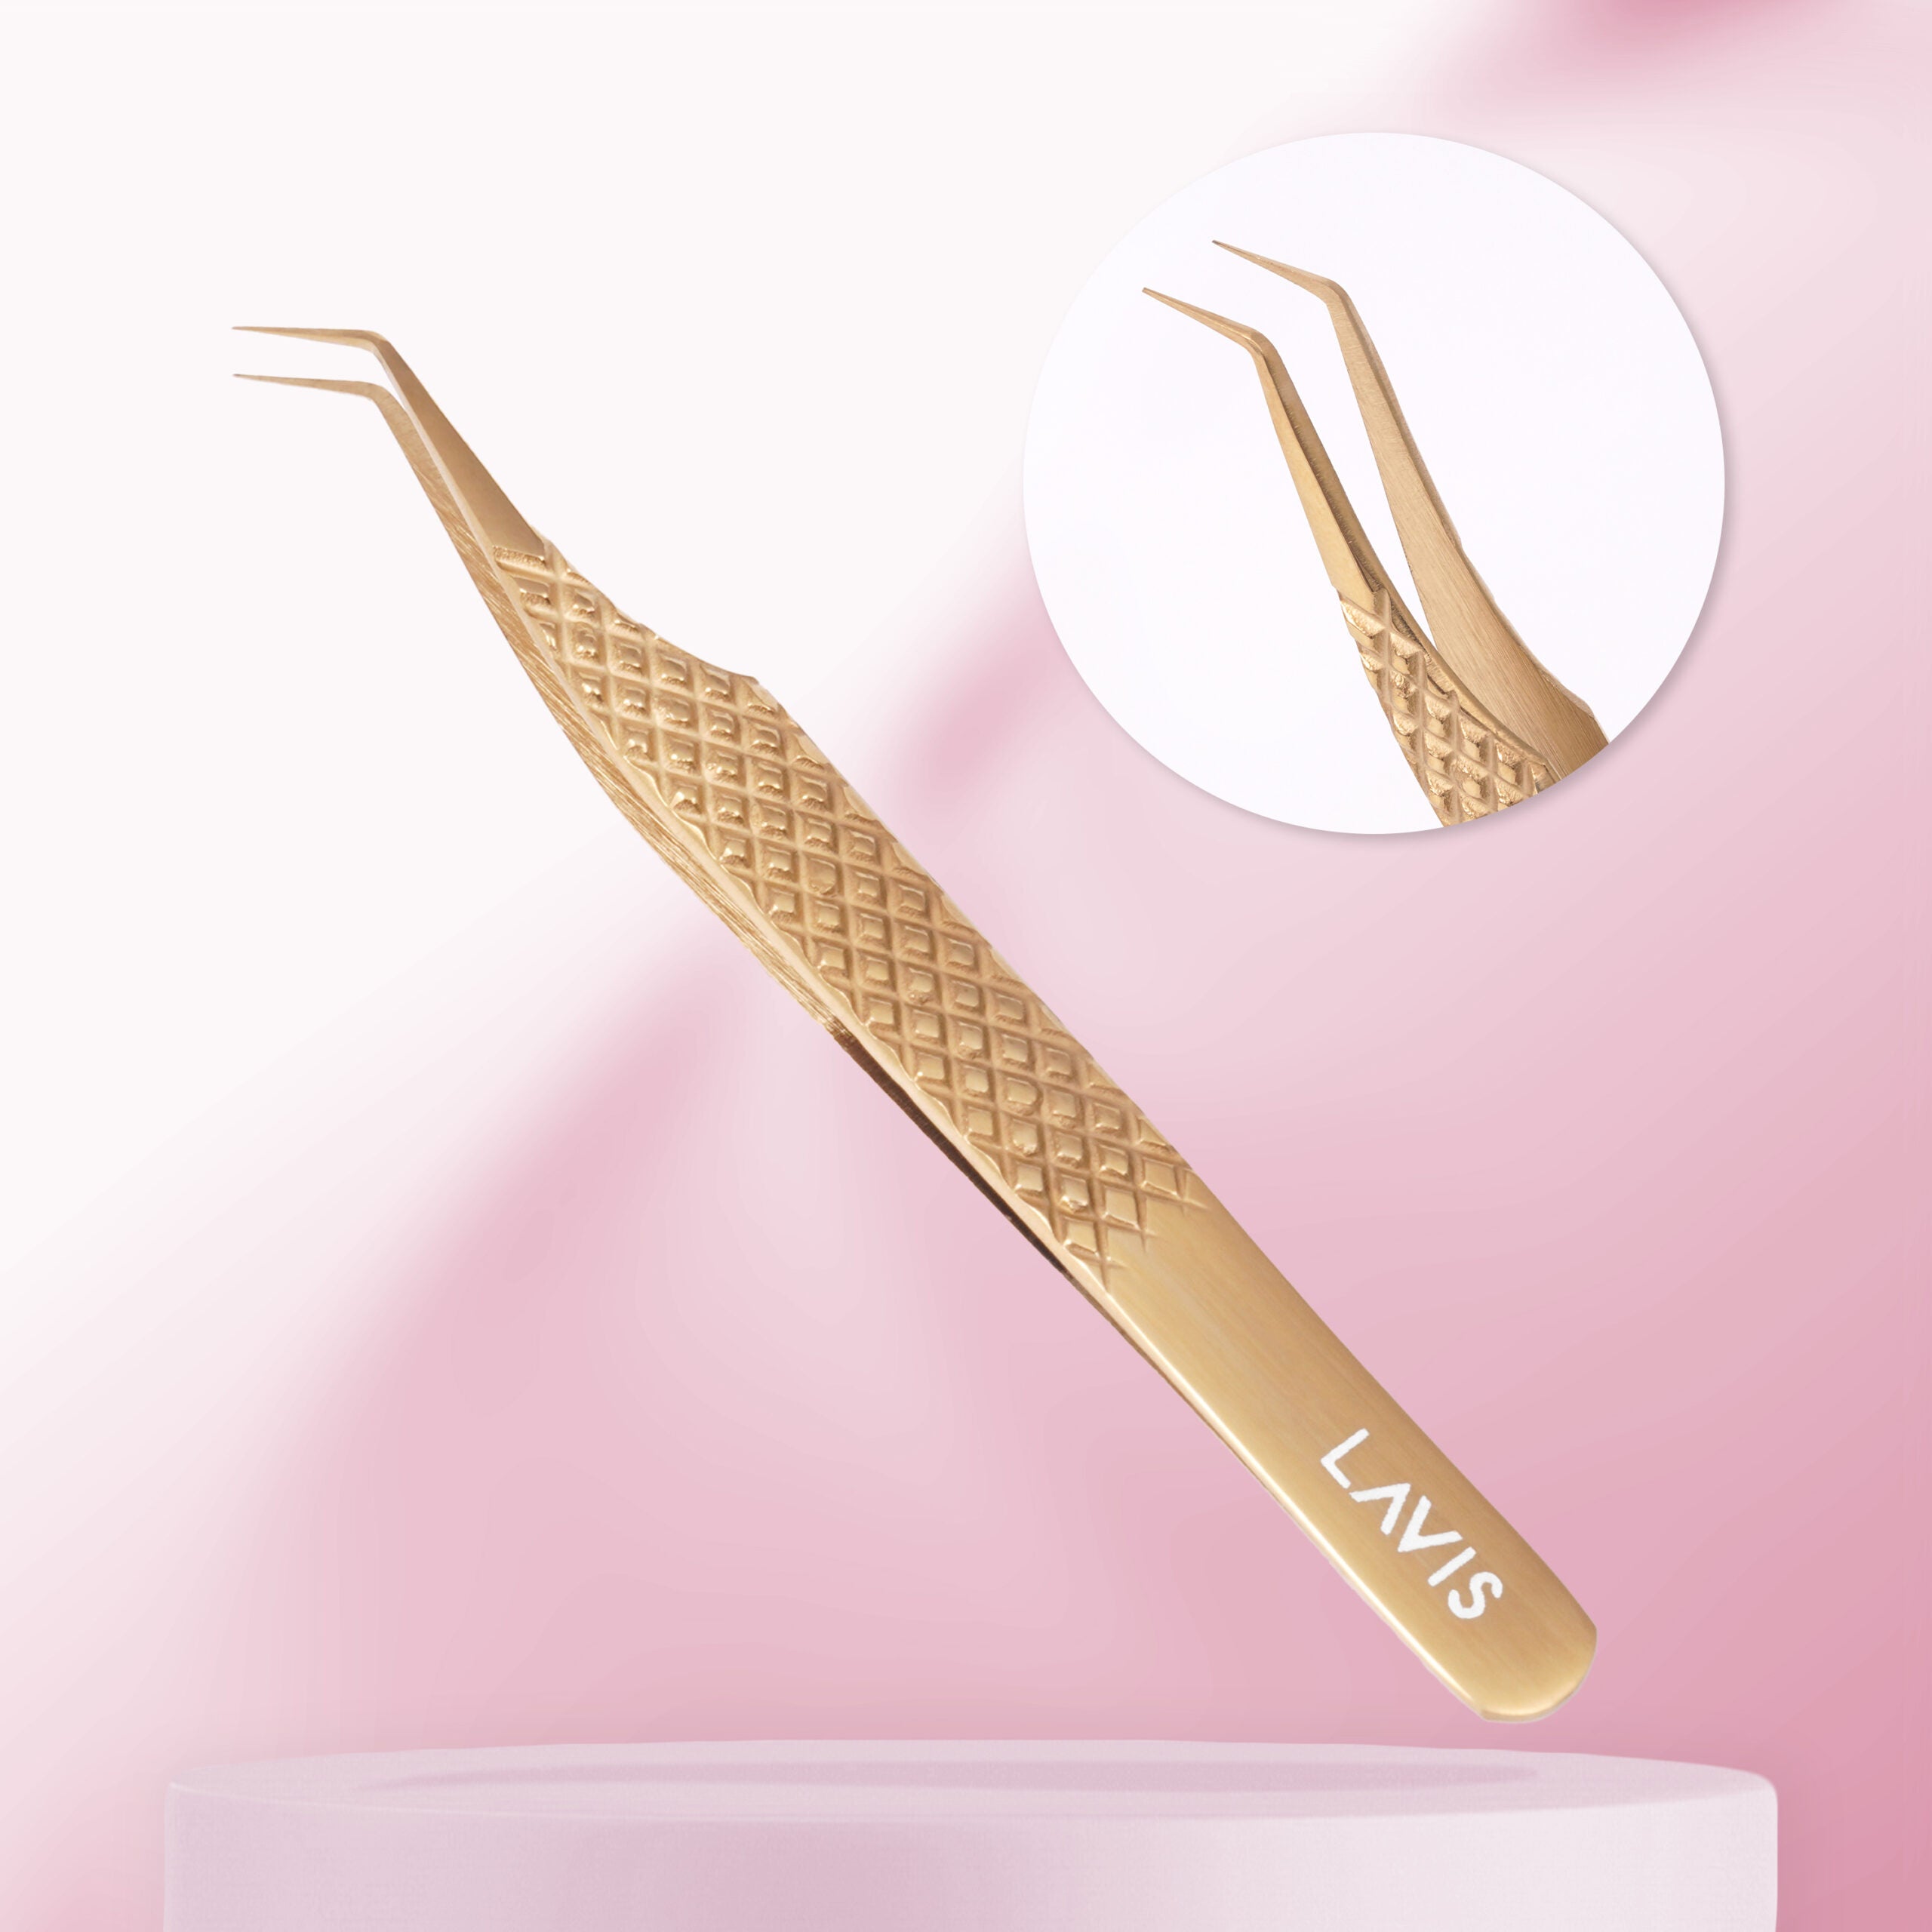
Pick a cozy spot with good lighting. You don't need a fancy setup, just a clean area where you can work your lash magic. Gather your tools: lash extensions of your choice, tweezers, the star of the show – Titan Glue, lash primer if you've got it, a lash comb or brush, lash adhesive pads or tape, and a trusty mirror.
Step 2: Love Your Natural Lashes
Give your natural lashes a little tender loving care. Use a lash-friendly cleanser to wipe away any dirt or oil. It's like giving them a clean canvas to work with.
Step 3: Glue Game On
Take those tweezers and dip them into the pool of Titan Glue. You only need a tiny amount on the base of a lash extension. Shake off the excess and you're ready to roll.
Step 4: Placement Precision
Using your tweezers, gently place the lash extension as close to your natural lash line as possible, without touching your skin. A gentle press and voila! Repeat the process for each extension, switching between eyes to keep things even.
Step 5: Finishing Flourish
Once the glue has worked its magic, grab a lash comb or brush and gently fluff up your extensions. This step ensures they blend seamlessly with your natural lashes.
Step 6: Show Some TLC
For the first day or two, keep those extensions dry. Let the glue set properly. After that, feel free to flaunt your fabulous lashes – they're water and tear-resistant, thanks to Titan Glue.


Leave a comment