5 Easy Steps to Apply Wispy Lashes at Home
Are you tired of struggling with false lashes?
Discover the simple steps to effortlessly apply stunning wispy lashes at home!
Are you tired of your regular mascara routine? Do you want to achieve a glamorous look with fuller and more dramatic lashes? Wispy lashes might be the perfect solution for you! Wispy lashes are a popular trend in the beauty world, giving you a flirty and natural appearance. In this step-by-step guide, we will walk you through the process of applying wispy lashes at home. You don't need to be a professional makeup artist to achieve stunning results. Let's get started!
Wispy lashes are a type of false lashes that have a natural, feathery appearance. They are designed to blend seamlessly with your natural lashes and give you a soft and fluttery look. Applying wispy lashes can enhance your eyes and make them appear more open and alluring. With the right tools and techniques, you can easily apply wispy lashes in the comfort of your own home.
 Before you begin the application process, it's important to choose the right pair of wispy lashes. Consider the length, density, and shape of the lashes. Wispy lashes are available in different styles, ranging from subtle and natural to dramatic and voluminous. Select a style that complements your eye shape and desired look.
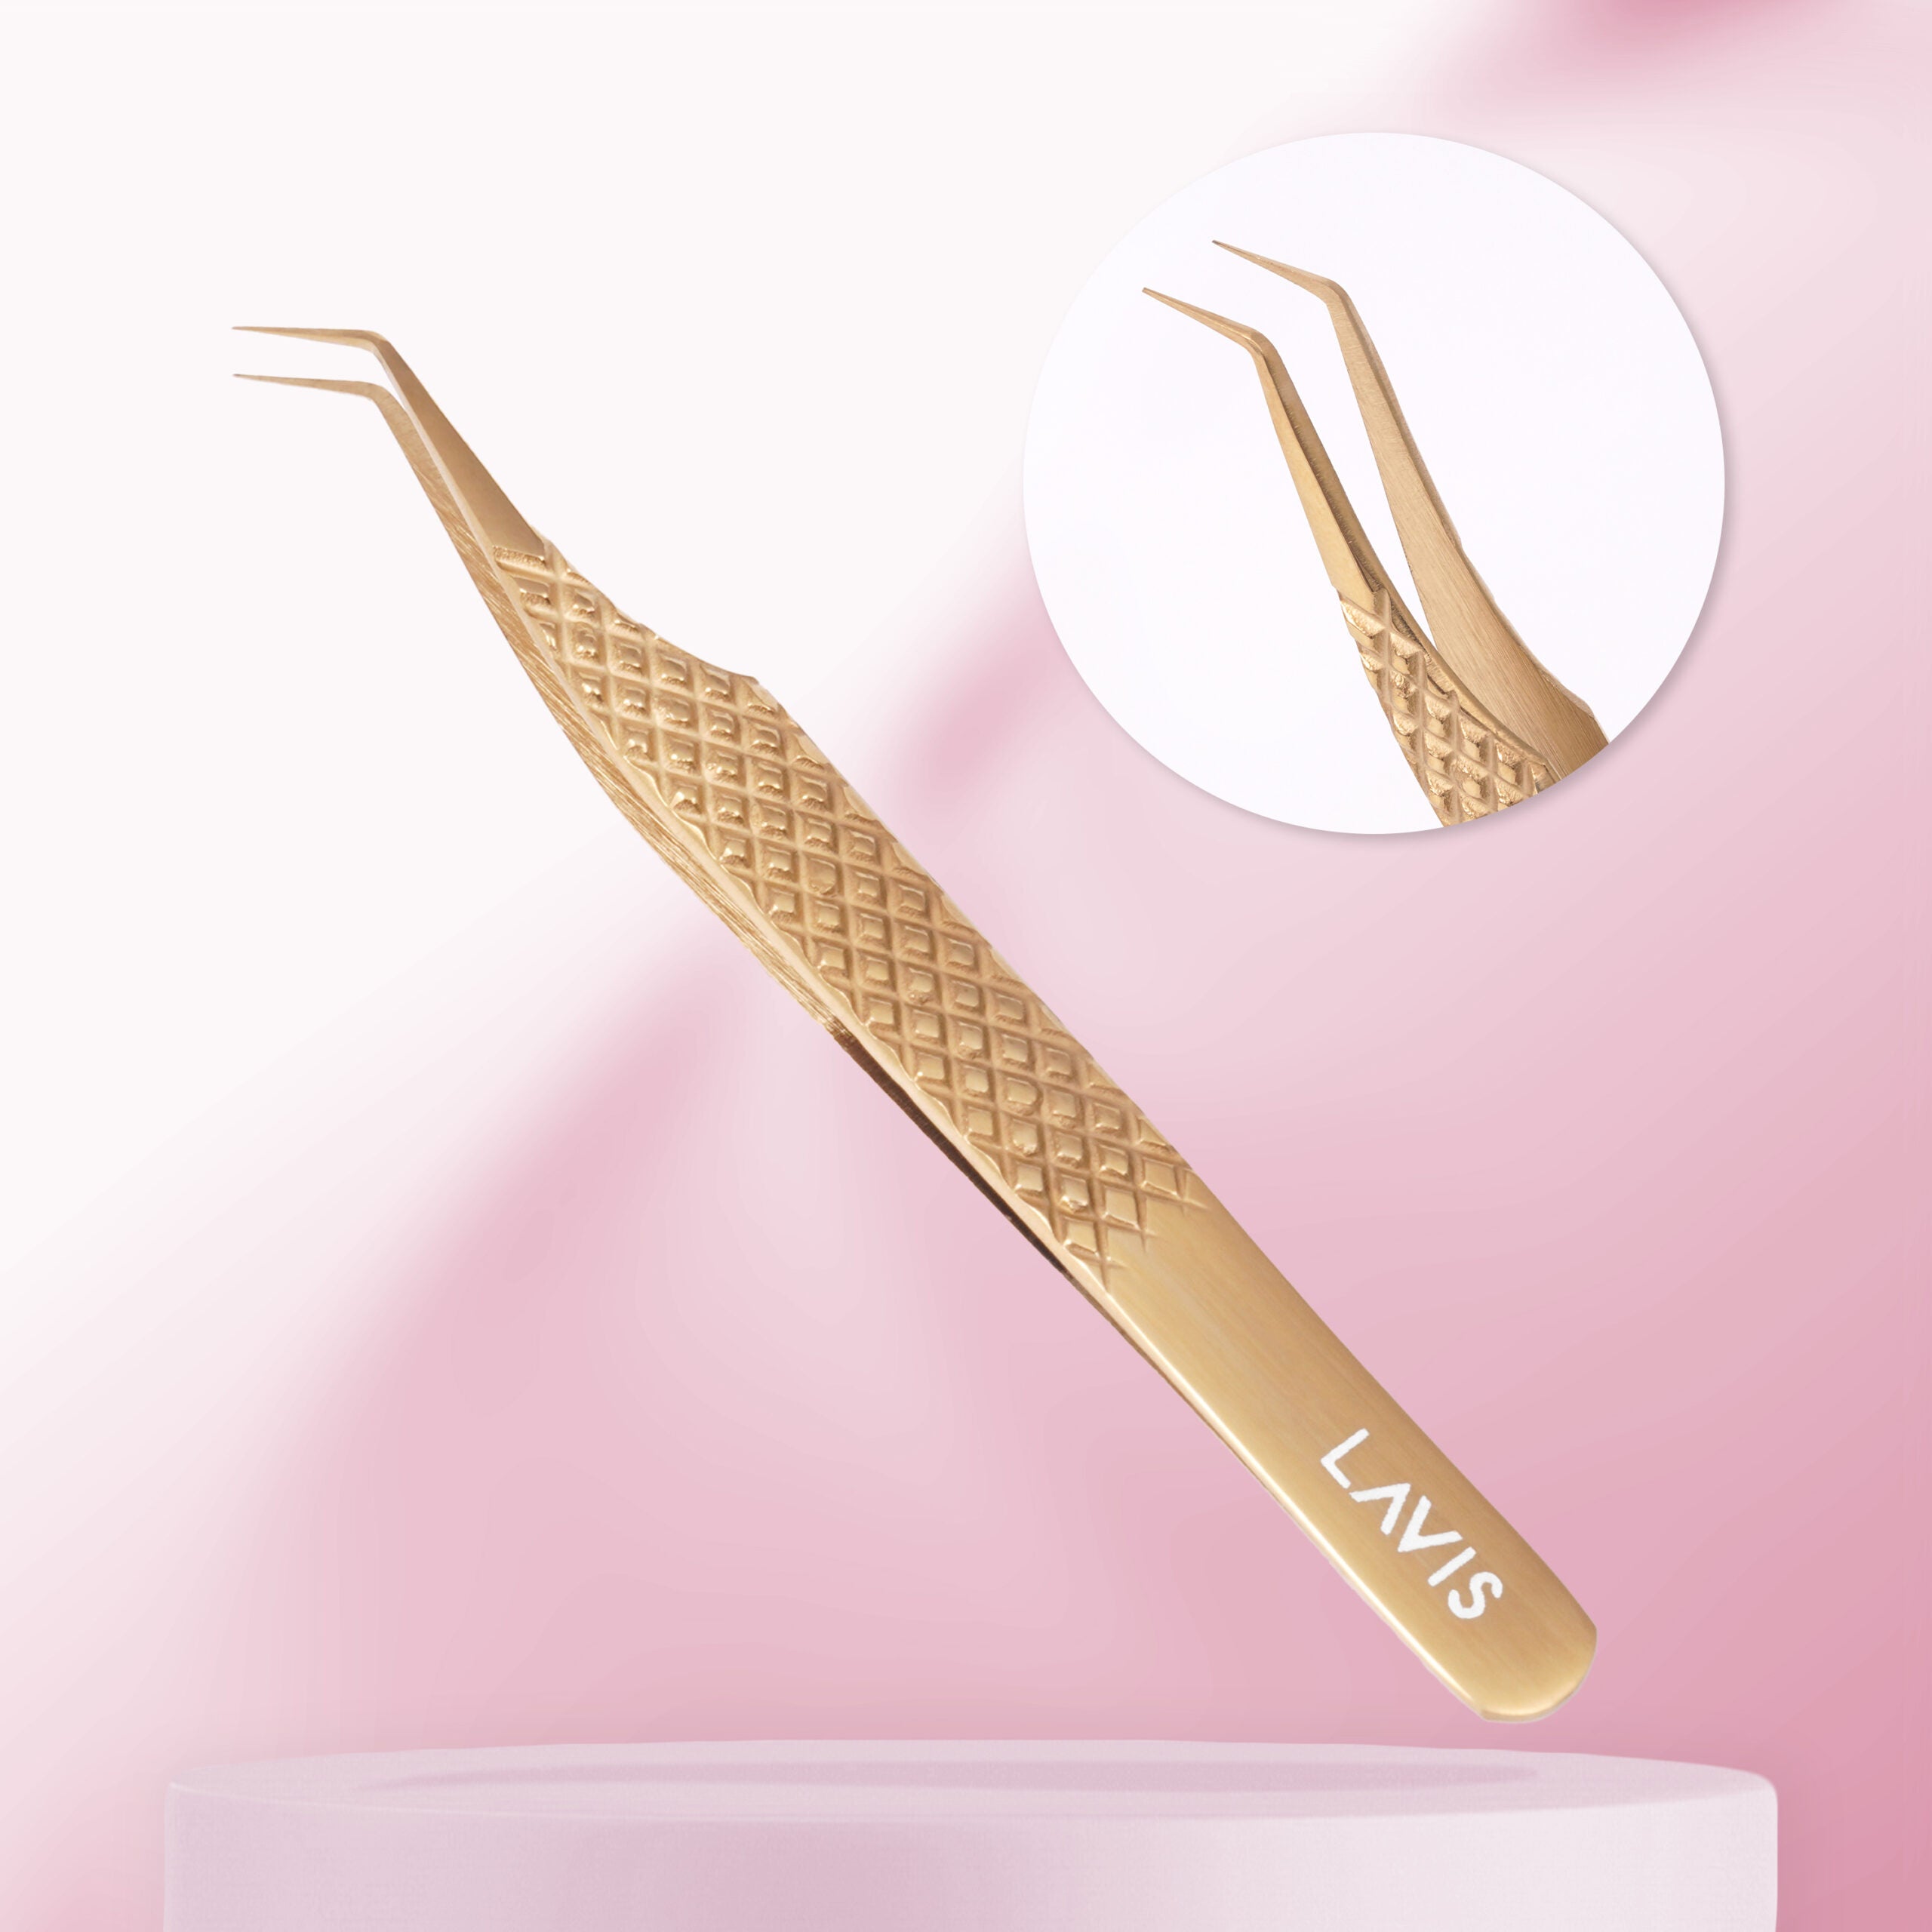
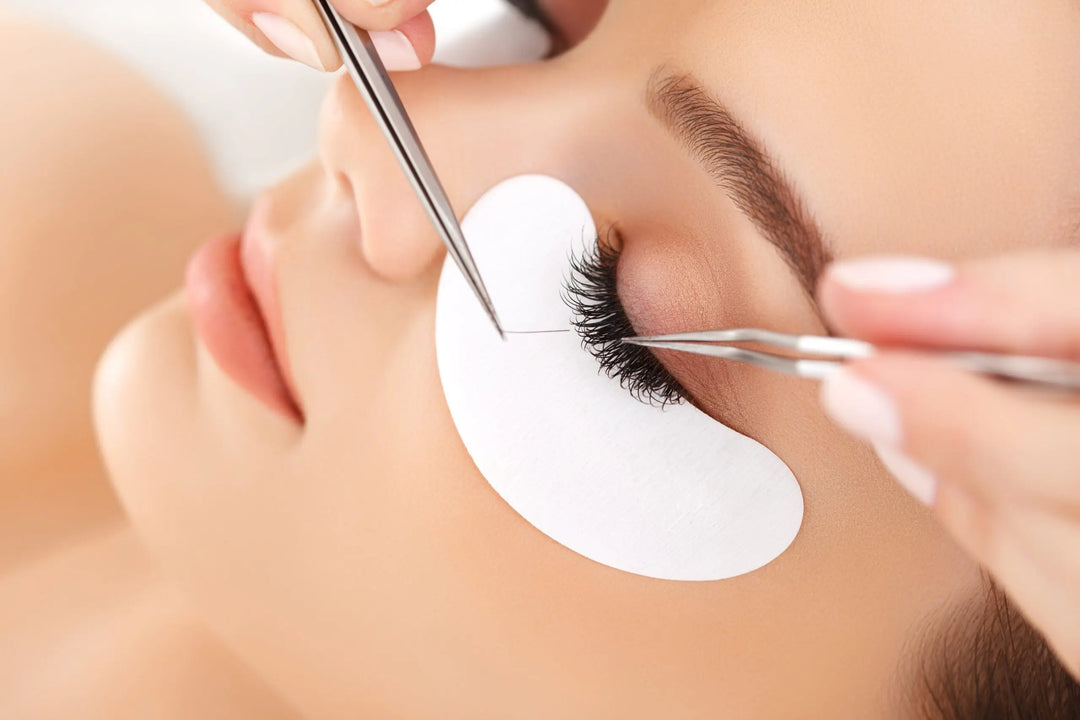
 Using a pair of tweezers or a lash applicator, carefully place the wispy lashes as close to your natural lash line as possible. Start from the outer corner of your eye and work your way towards the inner corner. Gently press down on the lashes to secure them in place. Take your time to ensure that they are positioned correctly and aligned with your natural lash line.
Thank you for reading our step-by-step guide on how to apply wispy lashes at home. If you have any more questions or need further assistance, please feel free to reach out. SEE MORE IN OTHER TOPICS! DISCOVER OUR WORLD OF LASH!
Choosing the Right Wispy Lashes
 Before you begin the application process, it's important to choose the right pair of wispy lashes. Consider the length, density, and shape of the lashes. Wispy lashes are available in different styles, ranging from subtle and natural to dramatic and voluminous. Select a style that complements your eye shape and desired look.
Preparing Your Natural Lashes
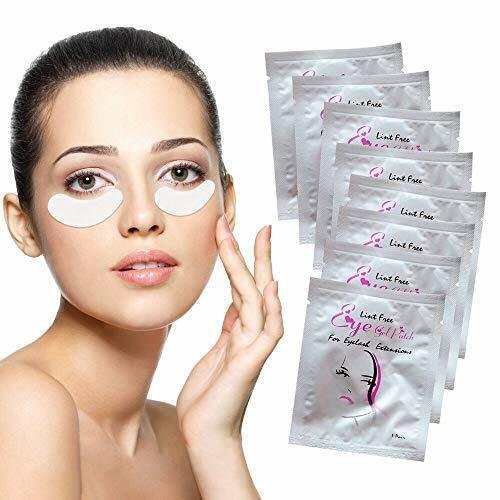
To ensure a smooth application, start by preparing your natural lashes. Remove any traces of old mascara or eye makeup using a gentle eye makeup remover. Comb through your lashes with a clean spoolie brush to separate and untangle them. Trimming your natural lashes can also help the wispy lashes blend better, especially if they are too long.Applying the Adhesive
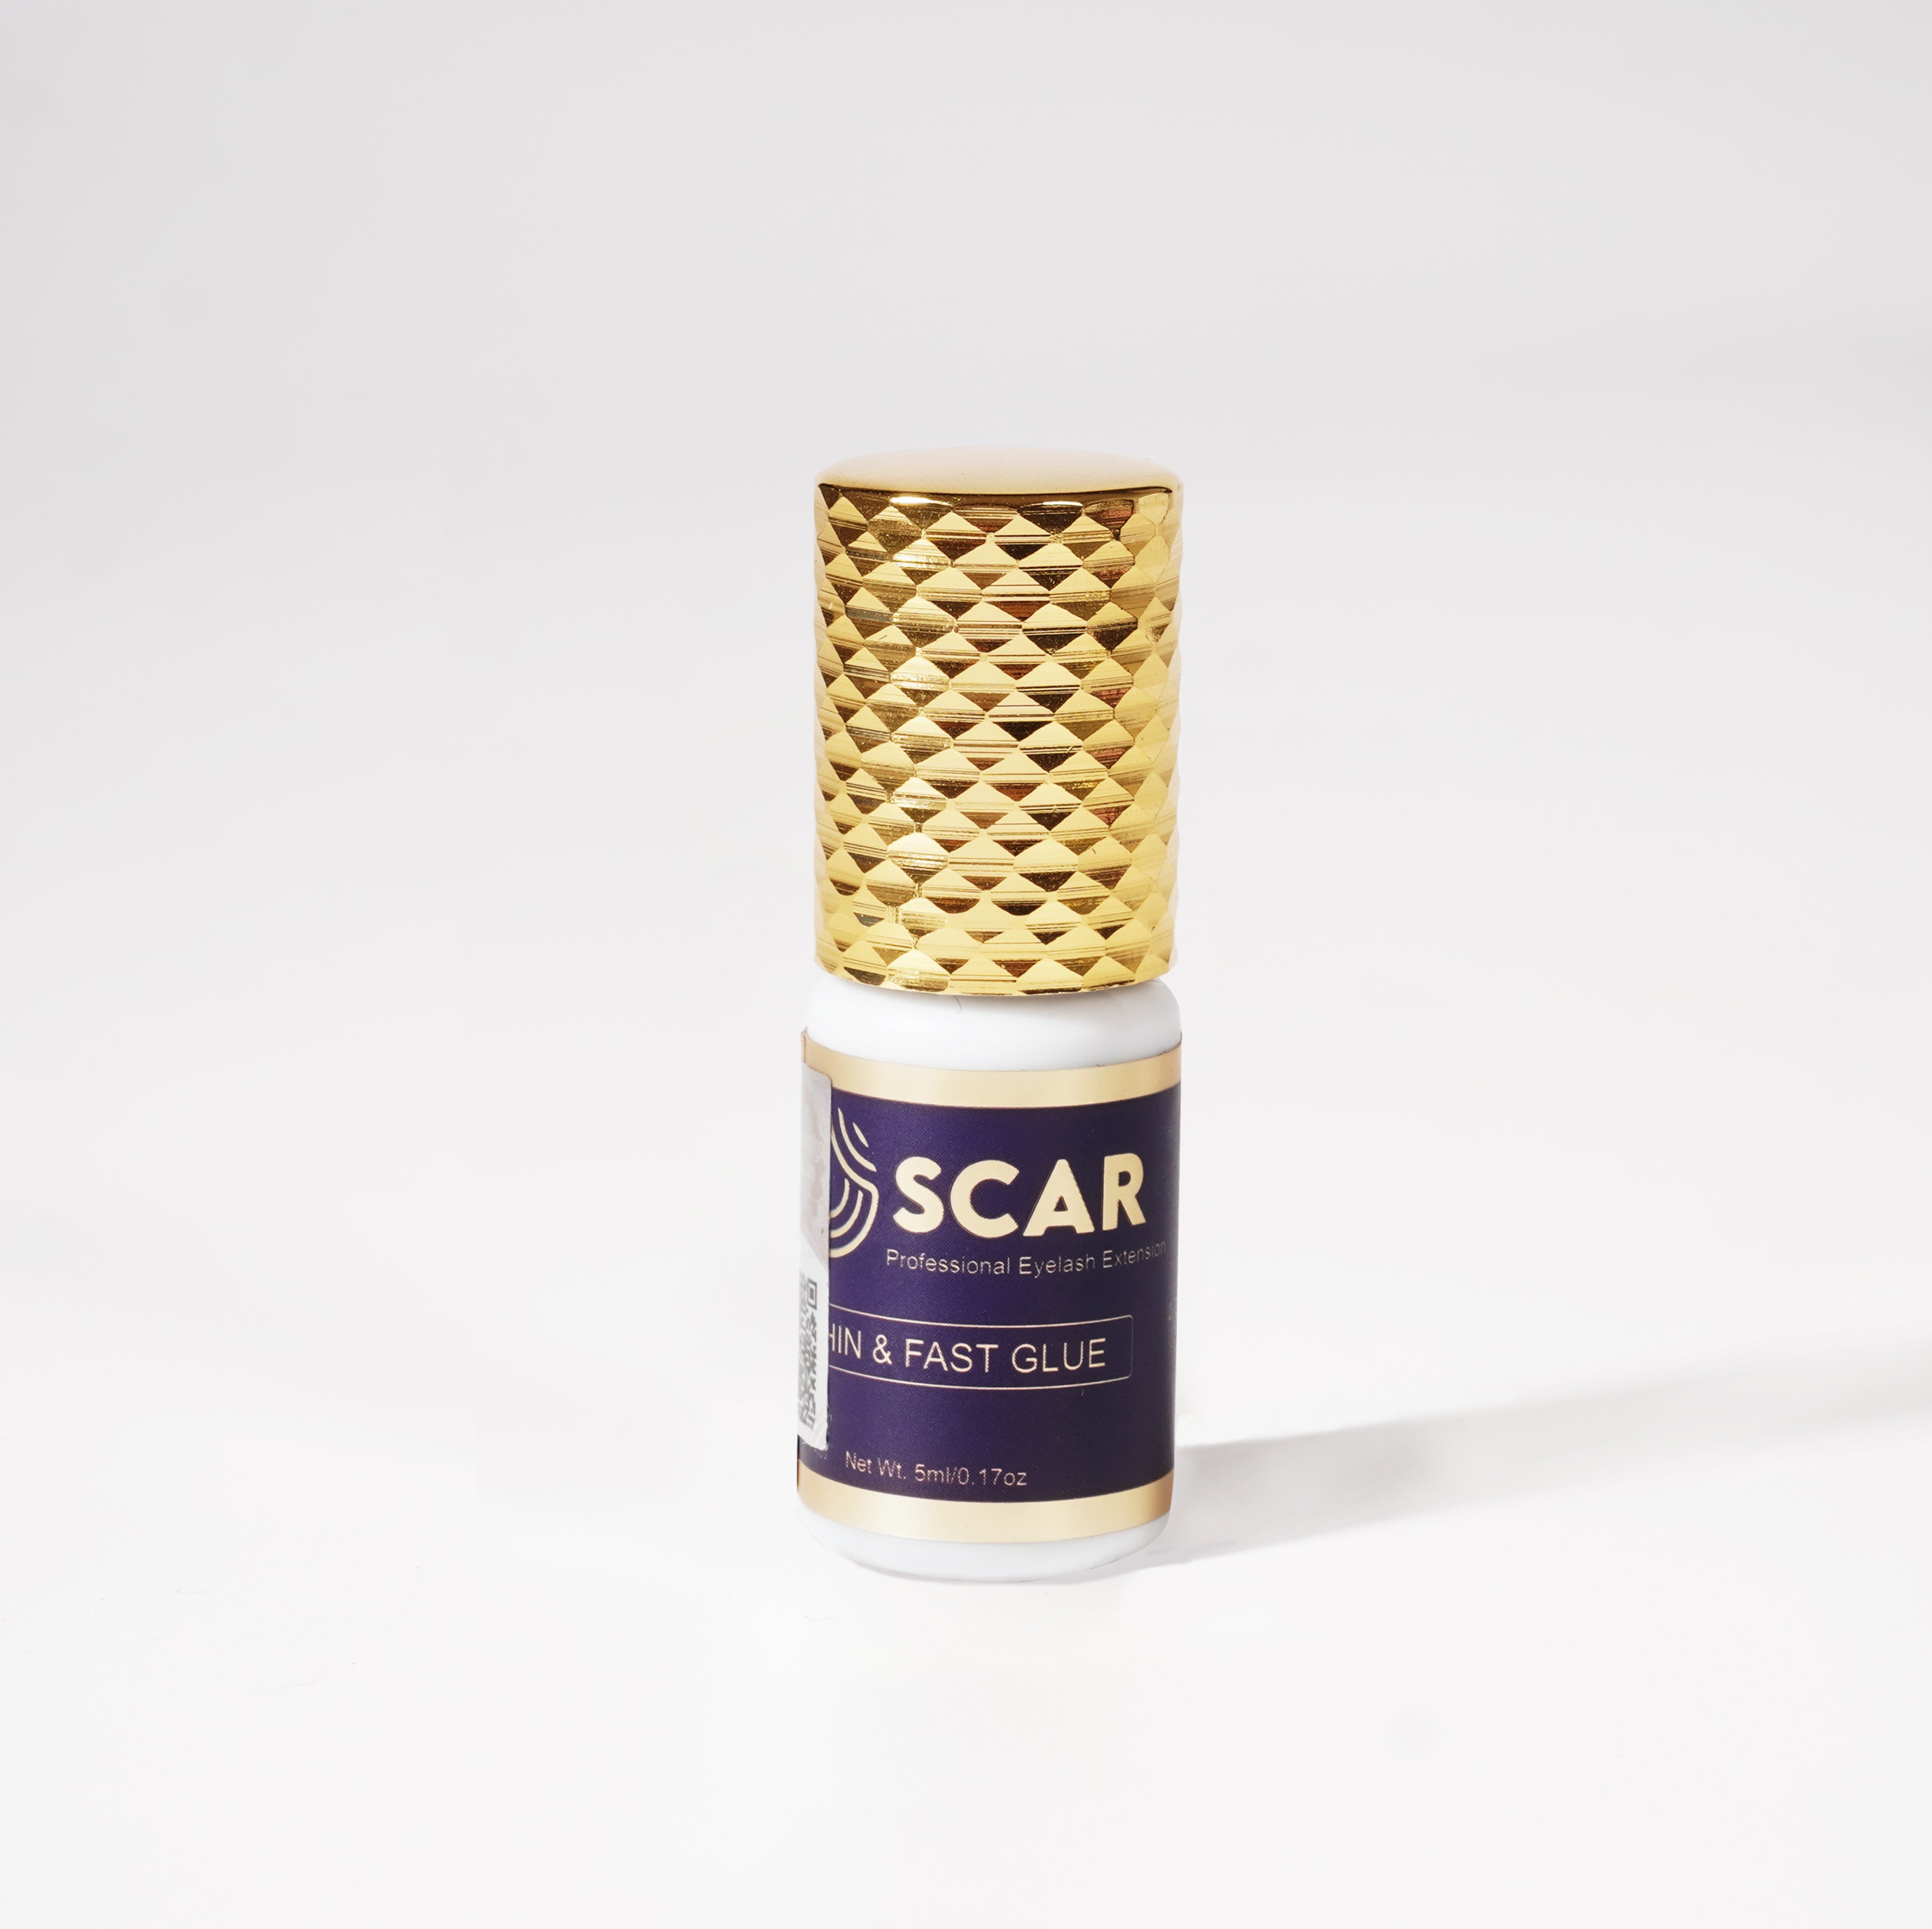
Apply a thin layer of lash adhesive along the band of the wispy lashes at home. Use a high-quality adhesive that is specifically designed for false lashes. Wait for a few seconds to allow the adhesive to become tacky. This step is crucial as it helps the lashes adhere better and prevents them from sliding around during the application process.Placing the Wispy Lashes
 Using a pair of tweezers or a lash applicator, carefully place the wispy lashes as close to your natural lash line as possible. Start from the outer corner of your eye and work your way towards the inner corner. Gently press down on the lashes to secure them in place. Take your time to ensure that they are positioned correctly and aligned with your natural lash line.
Blending the Wispy Lashes
To achieve a seamless look, blend the wispy lashes with your natural lashes. Use your fingers or a clean spoolie brush to gently press and blend the lashes together. This step helps to create a more natural and voluminous effect. Avoid applying too much pressure to prevent the lashes from coming off.Adding Mascara
If you desire extra volume and length, you can apply mascara to your wispy lashes at home. Use a mascara that is specifically formulated for use with false lashes. Apply a thin coat of mascara from the roots to the tips, focusing on the outer corners to enhance the wispy effect. Be gentle while applying mascara to avoid clumping or damaging the lashes.Removing Wispy Lashes
When it's time to remove your wispy lashes at home, gently peel them off starting from the outer corner. Use a makeup remover or warm water to dissolve the adhesive, making the removal process easier and more comfortable. Be careful not to tug or pull on the lashes, as this can damage your natural lashes.Cleaning and Storing Wispy Lashes
After removing the wispy lashes, it's essential to clean and store them properly for future use. Use a cotton swab dipped in makeup remover to remove any residual adhesive or mascara from the lashes. Place the lashes back into their original packaging or a clean storage case to maintain their shape and protect them from dust.FAQs
Q1: Can I reuse wispy lashes? Yes, wispy lashes can be reused multiple times with proper care and cleaning. Q2: How long do wispy lashes last? The lifespan of wispy lashes depends on the quality of the lashes and how well they are maintained. With proper care, they can last up to 10-15 uses. Q3: Can I wear wispy lashes with glasses? Yes, wispy lashes can be worn with glasses. Opt for lashes that are not too long or dramatic to ensure a comfortable fit. Q4: Are wispy lashes suitable for beginners? Yes, wispy lashes are beginner-friendly and relatively easy to apply. Start with shorter and more natural styles to get accustomed to the process. Q5: Can I wear wispy lashes without any other makeup? Absolutely! Wispy lashes can enhance your eyes even without any additional makeup. They provide a subtle and feminine touch to your overall look.11. Conclusion
Achieving wispy lashes at home is an achievable goal with the right tools and techniques. By following this step-by-step guide, you can enhance your natural beauty and achieve a stunning and fluttery lash look. Remember to choose the right pair of wispy lashes, prepare your natural lashes, and apply them with precision. With a little practice, you'll become an expert in no time. Get ready to bat your beautiful wispy lashes and captivate everyone around you!Thank you for reading our step-by-step guide on how to apply wispy lashes at home. If you have any more questions or need further assistance, please feel free to reach out. SEE MORE IN OTHER TOPICS! DISCOVER OUR WORLD OF LASH!


Leave a comment