Mastering Eyelash Adhesive Application: A 10-Step Rapid Tutorial
Hey there, beauty fans!
Today, we're diving into a topic that's essential for every lash lover - eyelash adhesive. Have you ever been frustrated by lashes that don't stick right, or end up looking less than perfect? Well, we're here to help. This comprehensive guide will take you through a 10-step process to master the application of eyelash adhesive, ensuring that your lashes stay put beautifully, every time. Let's get started!

A Detailed Overview of Eyelash Adhesive
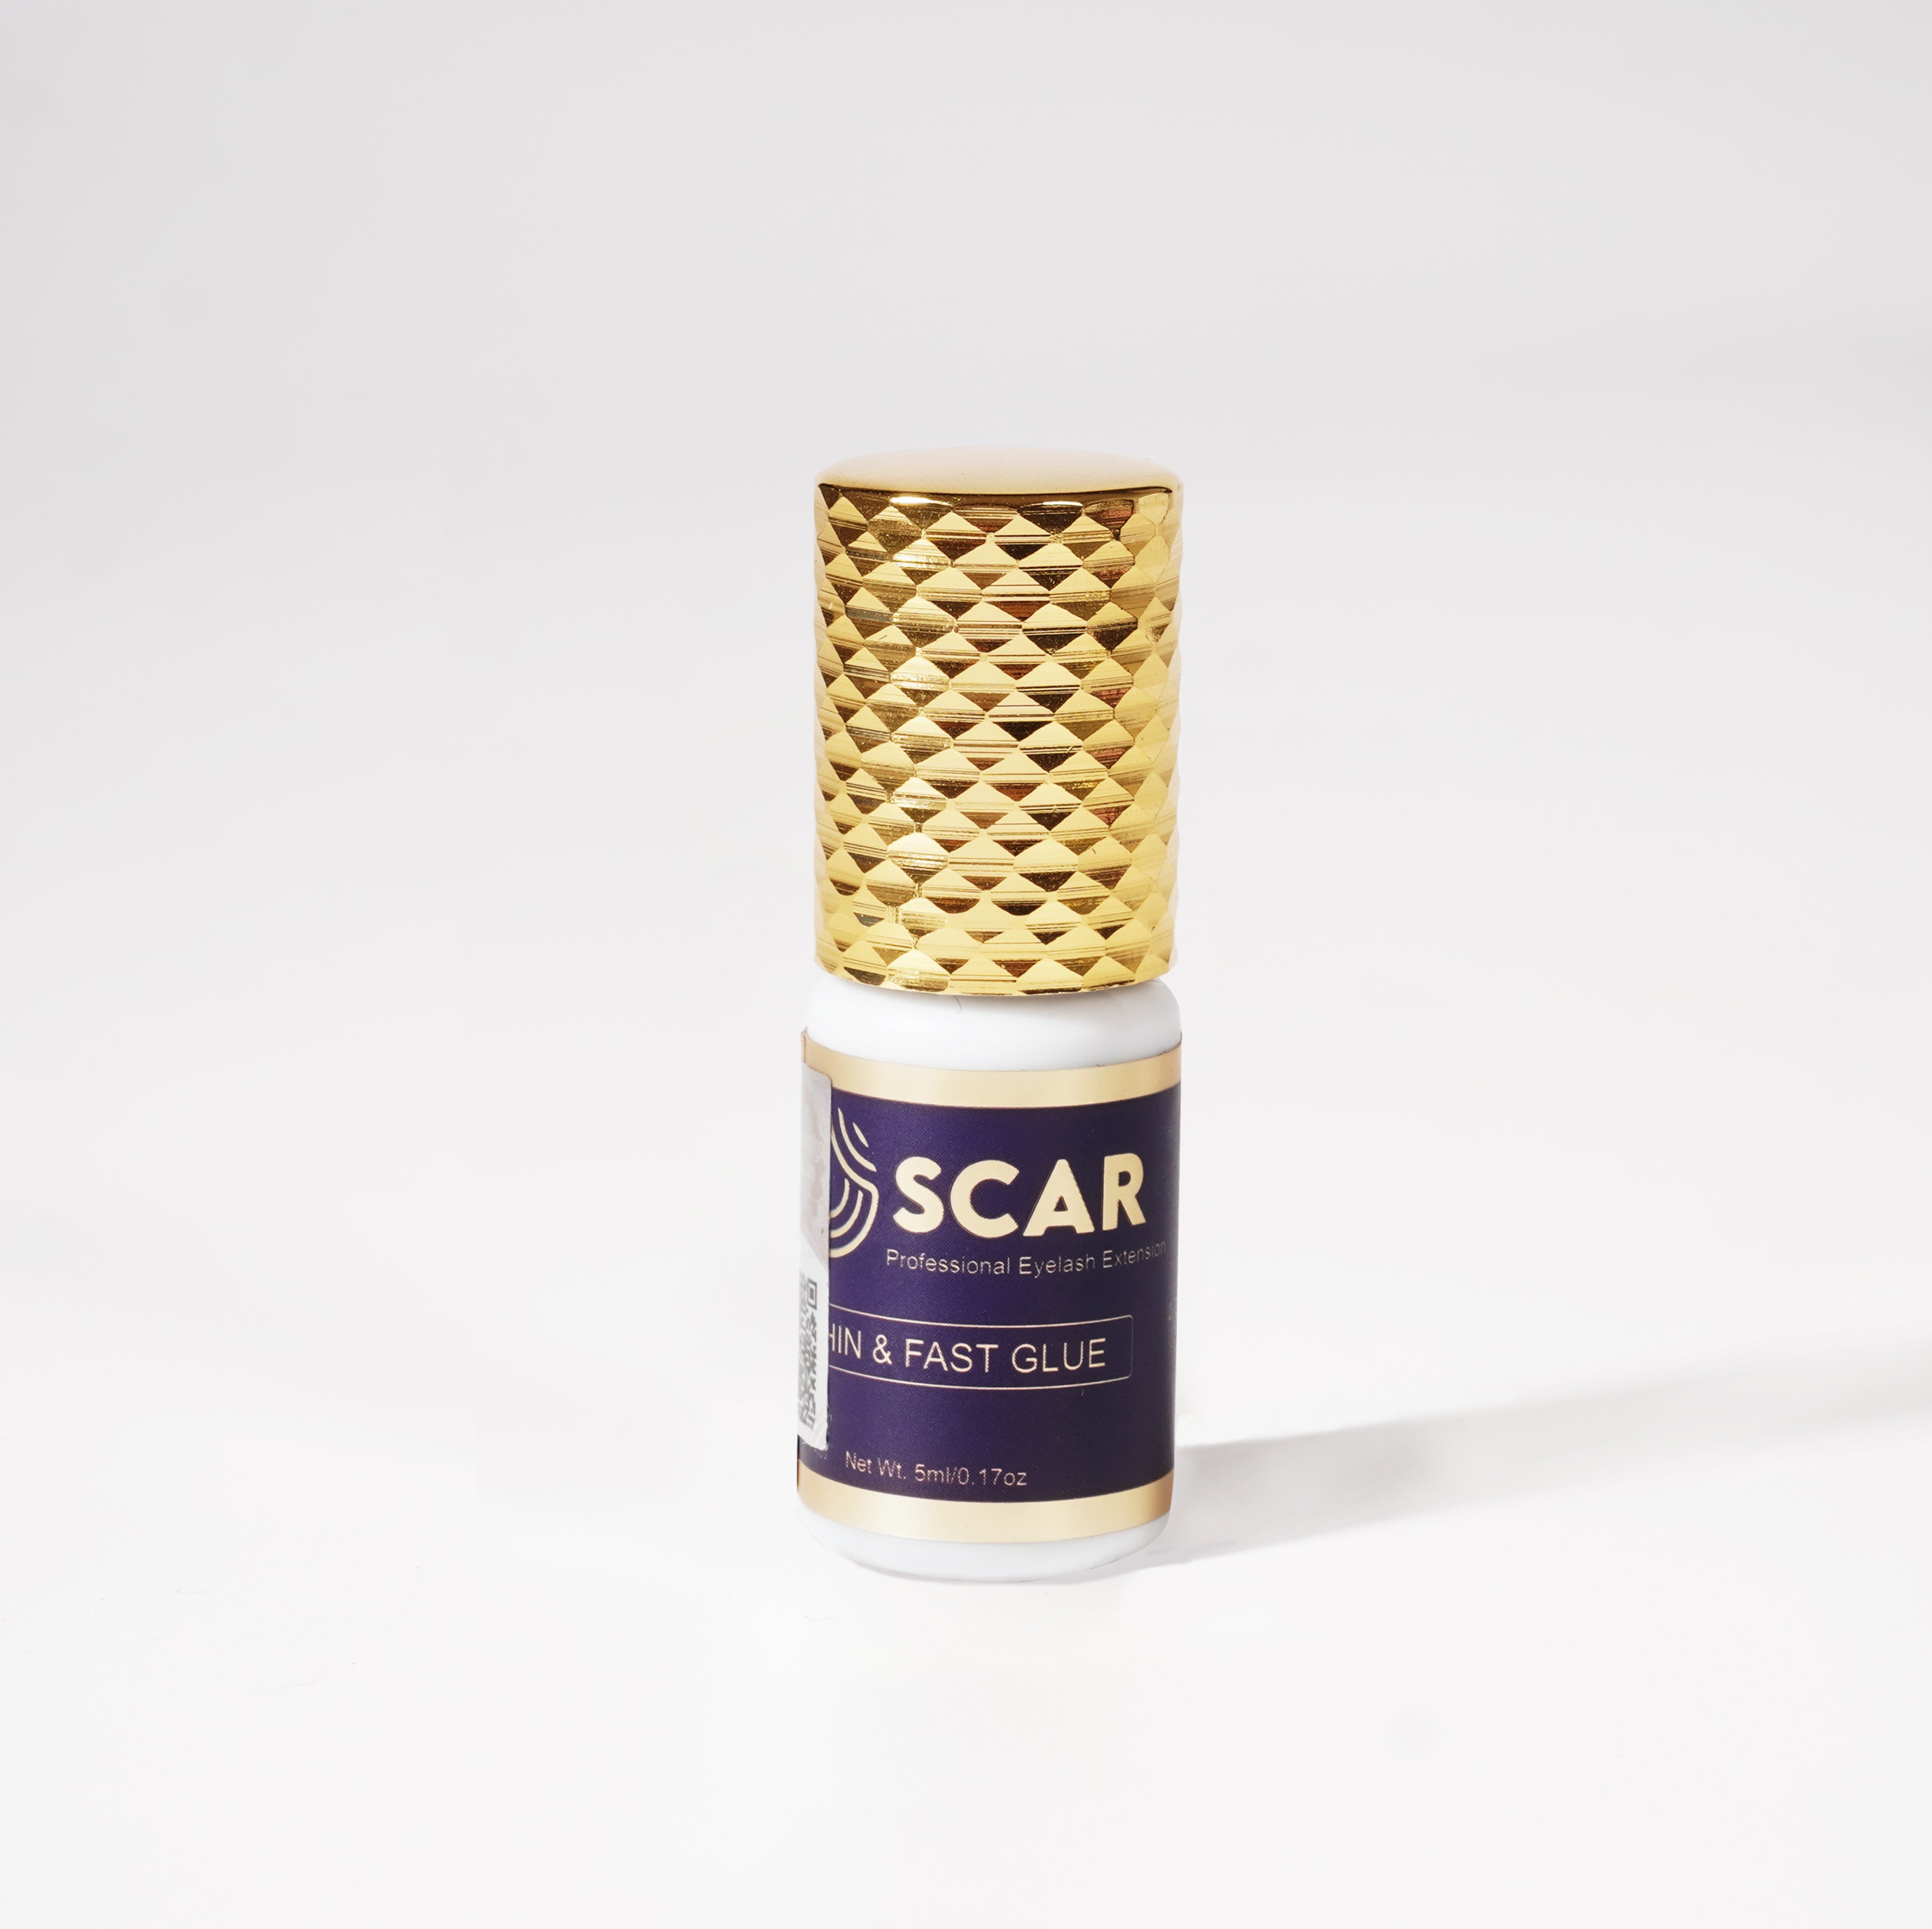
Before we jump into the tutorial, it's important to grasp the basics about eyelash adhesive. successful and comfortable application. The adhesive is designed to be safe for use around the delicate eye area and provides the necessary strength to hold the extensions in place.Varieties of Eyelash Adhesive: Clear and Dark-Tone
Eyelash adhesives generally come in two varieties: clear and dark-tone. Clear adhesive is ideal for a seamless application as it dries invisibly, blending into your lash line perfectly. Dark-tone adhesive, on the other hand, dries to a dark finish, giving an eyeliner effect and enhancing the density of your lashes. The choice between the two depends on the look you're going for.Factors to Consider in Eyelash Adhesive Selection
When choosing your eyelash adhesive, a few factors should be taken into consideration. These include the adhesive's color, the drying time, and its longevity. It's also important to choose an adhesive that's waterproof to ensure it lasts through tears or humidity, and hypoallergenic to prevent any potential allergic reactions. You should also check the adhesive's reviews and brand reputation to ensure you're making a safe choice.
Step-by-Step Guide to Applying Eyelash Adhesive
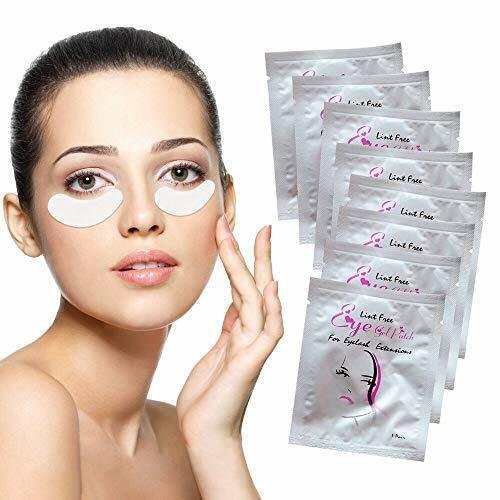
To achieve beautiful and professional-looking eyelash extensions, follow these step-by-step instructions for applying eyelash adhesive:- Prepare the Client: Cleanse the client's lashes and ensure they are free from oil, dirt, or makeup residue.
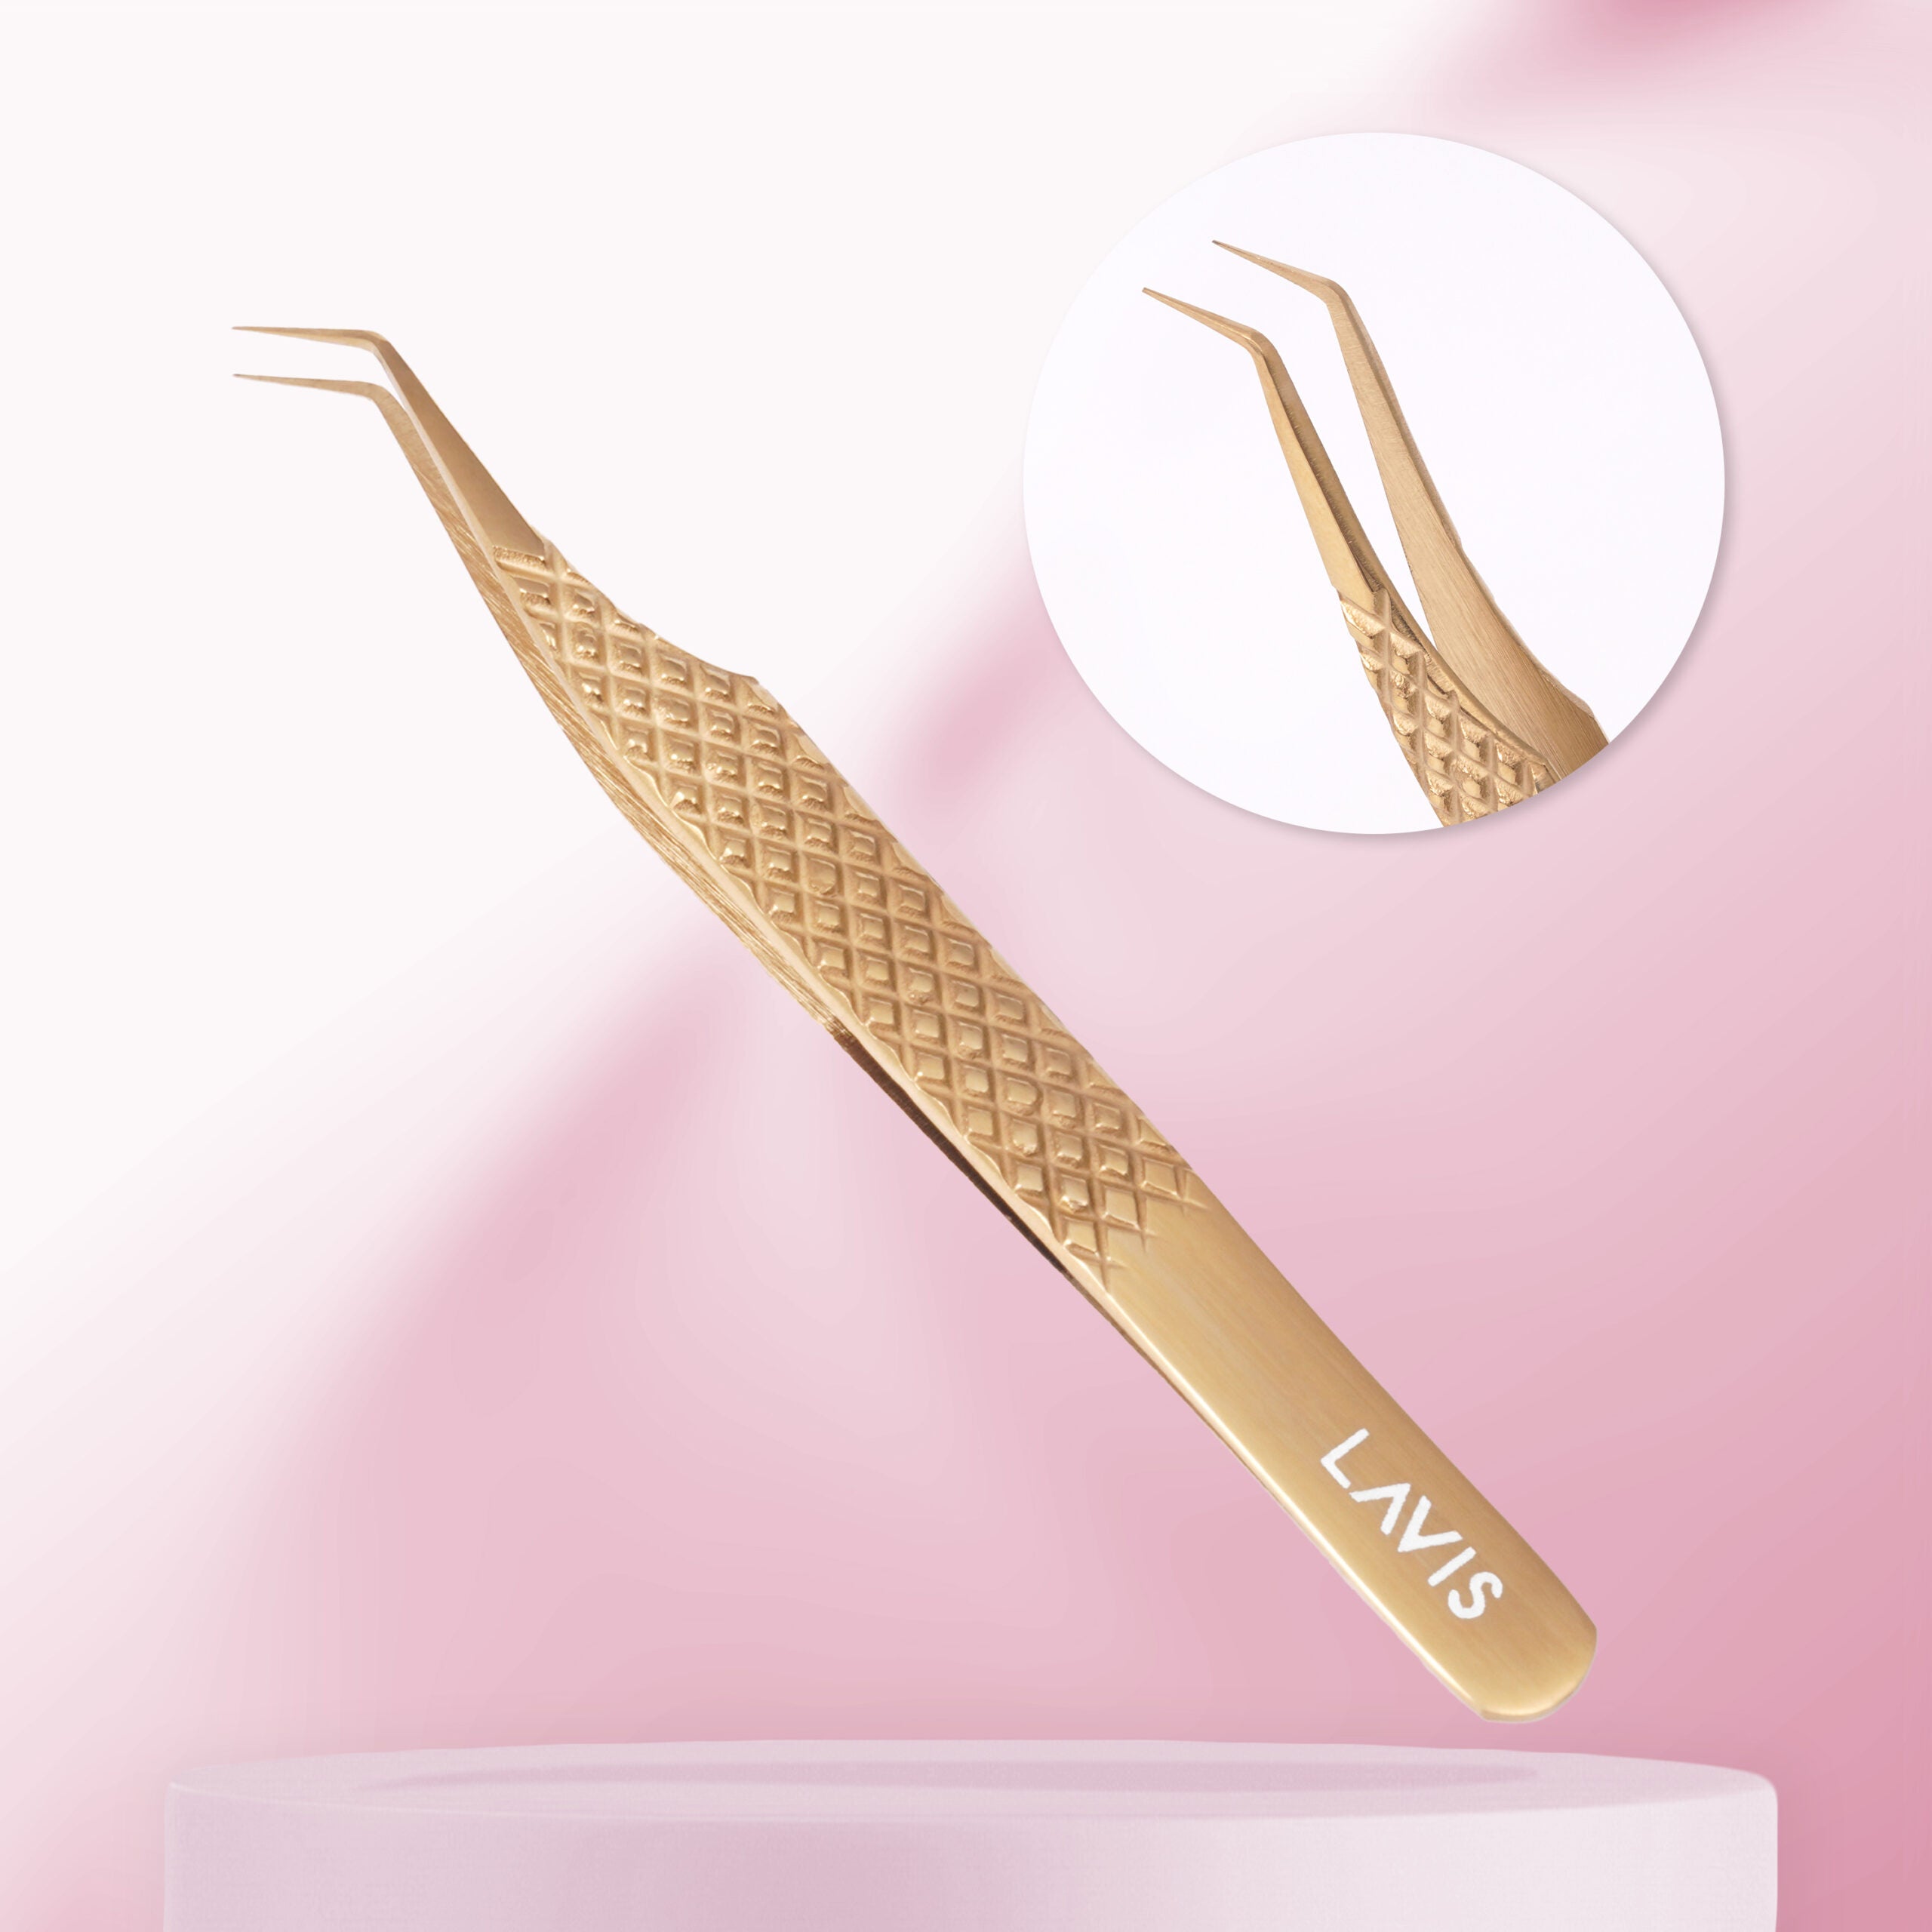
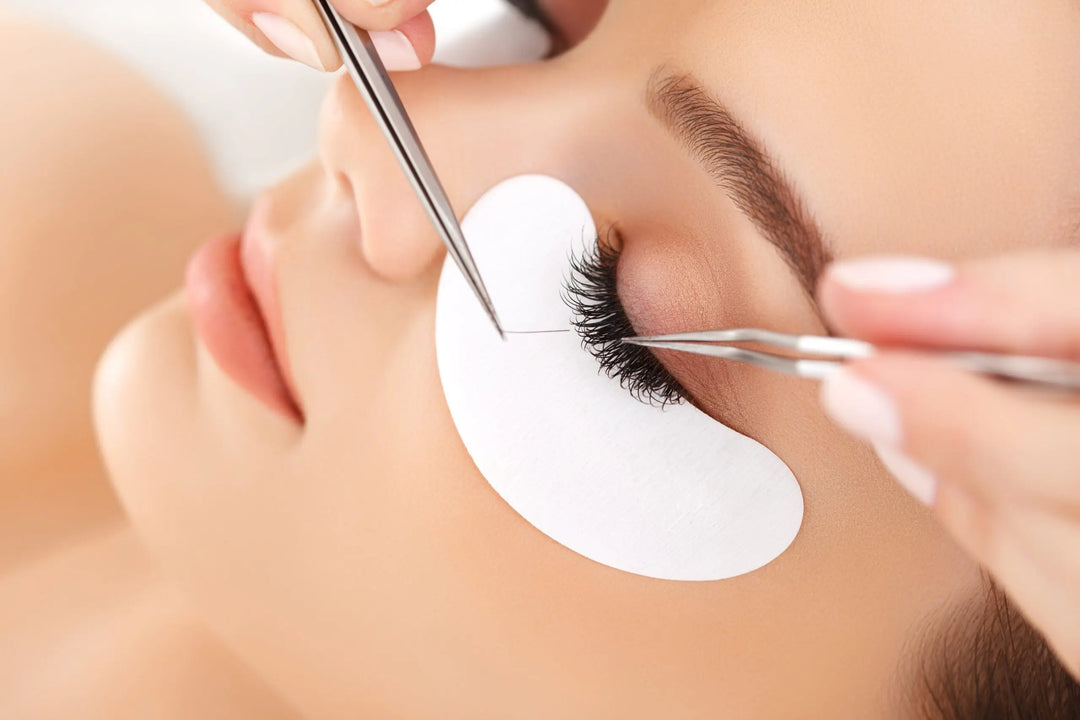
- Isolate the Natural Lashes: Use a lash tweezer to isolate a single natural lash, keeping it separate from the others.
- Dip the Extension: Carefully dip the eyelash extension into a small drop of adhesive, making sure only the base is coated.
- Place the Extension: Gently place the extension on the isolated natural lash, close to the lash line, without touching the skin.
- Hold and Cure: Hold the extension in place for a few seconds to allow the adhesive to bond properly.
- Repeat the Process: Repeat the process for each individual natural lash, ensuring even distribution and spacing of the extensions.
- Check for Symmetry: Regularly step back and check for symmetry and proper placement of the extensions.
- Finish and Set: After completing the application, allow the adhesive to fully cure and set before letting the client open their eyes.
Common Mistakes to Avoid When Using Eyelash Adhesive
To ensure a successful eyelash extension application and maximize the adhesive's performance, avoid the following common mistakes:- Using Too Much Adhesive: Applying excessive adhesive can lead to clumping, poor retention, and discomfort for the client.
- Not Allowing Proper Drying Time: Rushing the drying process can result in poor bond strength and premature shedding of extensions.
- Using Expired Adhesive: Always check the expiration date of your adhesive to ensure optimal performance and safety.
- Neglecting Patch Tests: Patch tests are essential, especially if you or your client have a history of allergies or sensitivities.
- Applying Extensions to Damaged Lashes: Avoid applying extensions to lashes that are weak, damaged, or in poor condition.
Frequently Asked Questions
- How long does eyelash adhesive for eyelash extensions typically last? The longevity of eyelash adhesive varies depending on factors such as quality, application technique, and individual lash growth cycle. On average, lash extensions can last between three to six weeks.
- Can I remove eyelash extensions on my own? It is generally recommended to seek professional assistance for the safe removal of eyelash extensions. Professionals have the necessary tools and expertise to ensure minimal damage to your natural lashes.
- Is eyelash adhesive safe for sensitive eyes? Many adhesive brands offer formulations suitable for sensitive eyes. Look for adhesives labeled as hypoallergenic and perform a patch test to ensure compatibility.
- Can I swim or shower with eyelash extensions applied with adhesive? Once the adhesive has fully cured, usually within 24 to 48 hours, you can swim, shower, and participate in regular activities without worrying about the extensions.
- How often should I get my eyelash extensions filled? To maintain a full and seamless lash look, it is recommended to schedule lash fills every two to three weeks, as new natural lashes grow in and old extensions shed.
- Can I apply eyelash extensions on myself at home? While some individuals choose to apply eyelash extensions at home, it is generally recommended to seek professional training to ensure proper application and minimize the risk of damage to the natural lashes.


Leave a comment