How to Make Your Own Volume Fans
Are you tired of spending a fortune on eyelash extensions? Do you want to achieve that beautiful, voluminous lash look without breaking the bank? Well, look no further! In this article, we will guide you through the process of making your own volume fans for a stunning lash transformation. Get ready to enhance your natural beauty and flutter those lashes with confidence!
Among the various techniques, volume fans have gained significant attention due to their ability to create a dramatic and voluminous effect. Creating your own volume fans not only saves you money but also allows you to customize the look according to your preferences.
Let's dive into the process and learn how to make your own volume fans!
 Volume fans are handmade lash clusters that consist of multiple lash extensions attached to a single base. Unlike classic lashes, which involve attaching a single extension to each natural lash, volume fans provide a fuller look by applying several lightweight extensions to a single lash. This technique creates a feathery, voluminous effect, making your eyes appear more captivating.
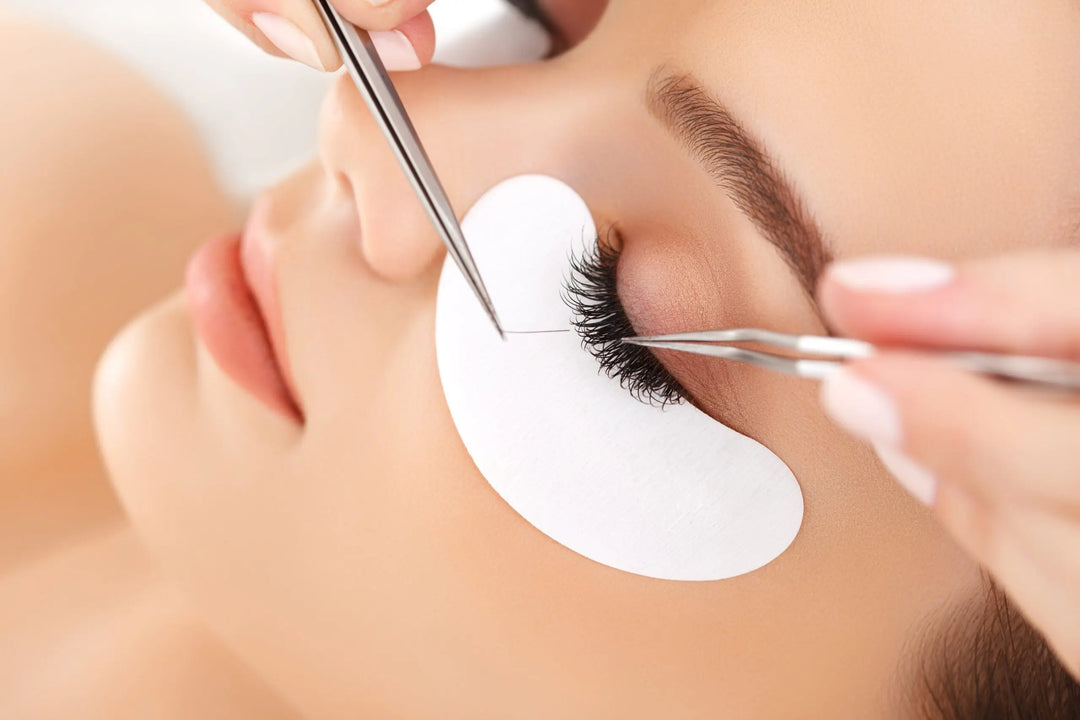
 Woman Eye with Long Eyelashes. Eyelash Extension
 To remove volume fans safely, follow these steps:
Understanding Volume Fans
 Volume fans are handmade lash clusters that consist of multiple lash extensions attached to a single base. Unlike classic lashes, which involve attaching a single extension to each natural lash, volume fans provide a fuller look by applying several lightweight extensions to a single lash. This technique creates a feathery, voluminous effect, making your eyes appear more captivating.
Tools and Materials Needed
Before we begin, let's gather the necessary tools and materials:- Individual lash extensions
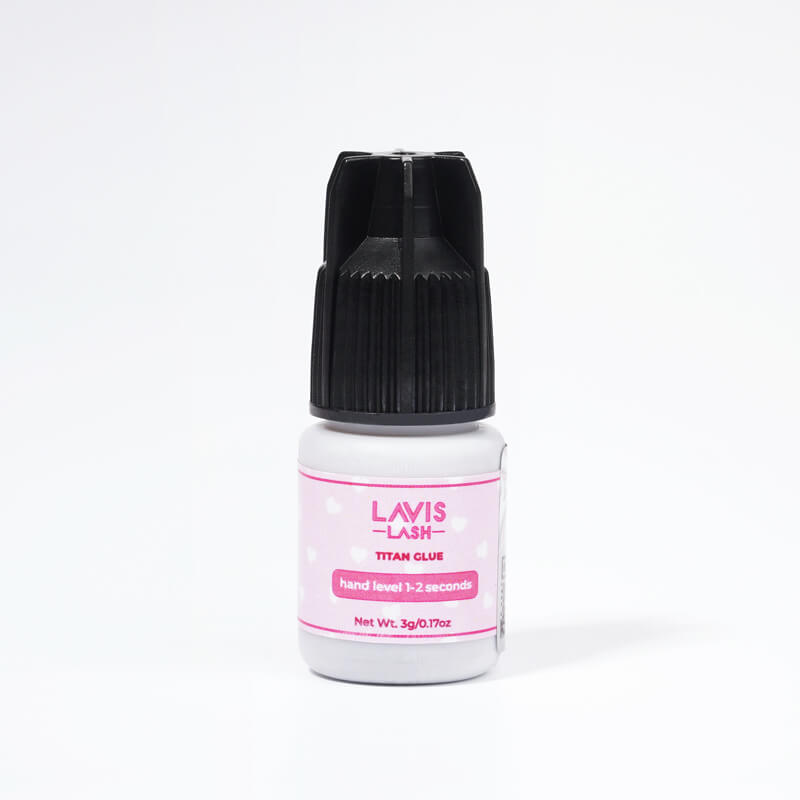
- Volume lash adhesive
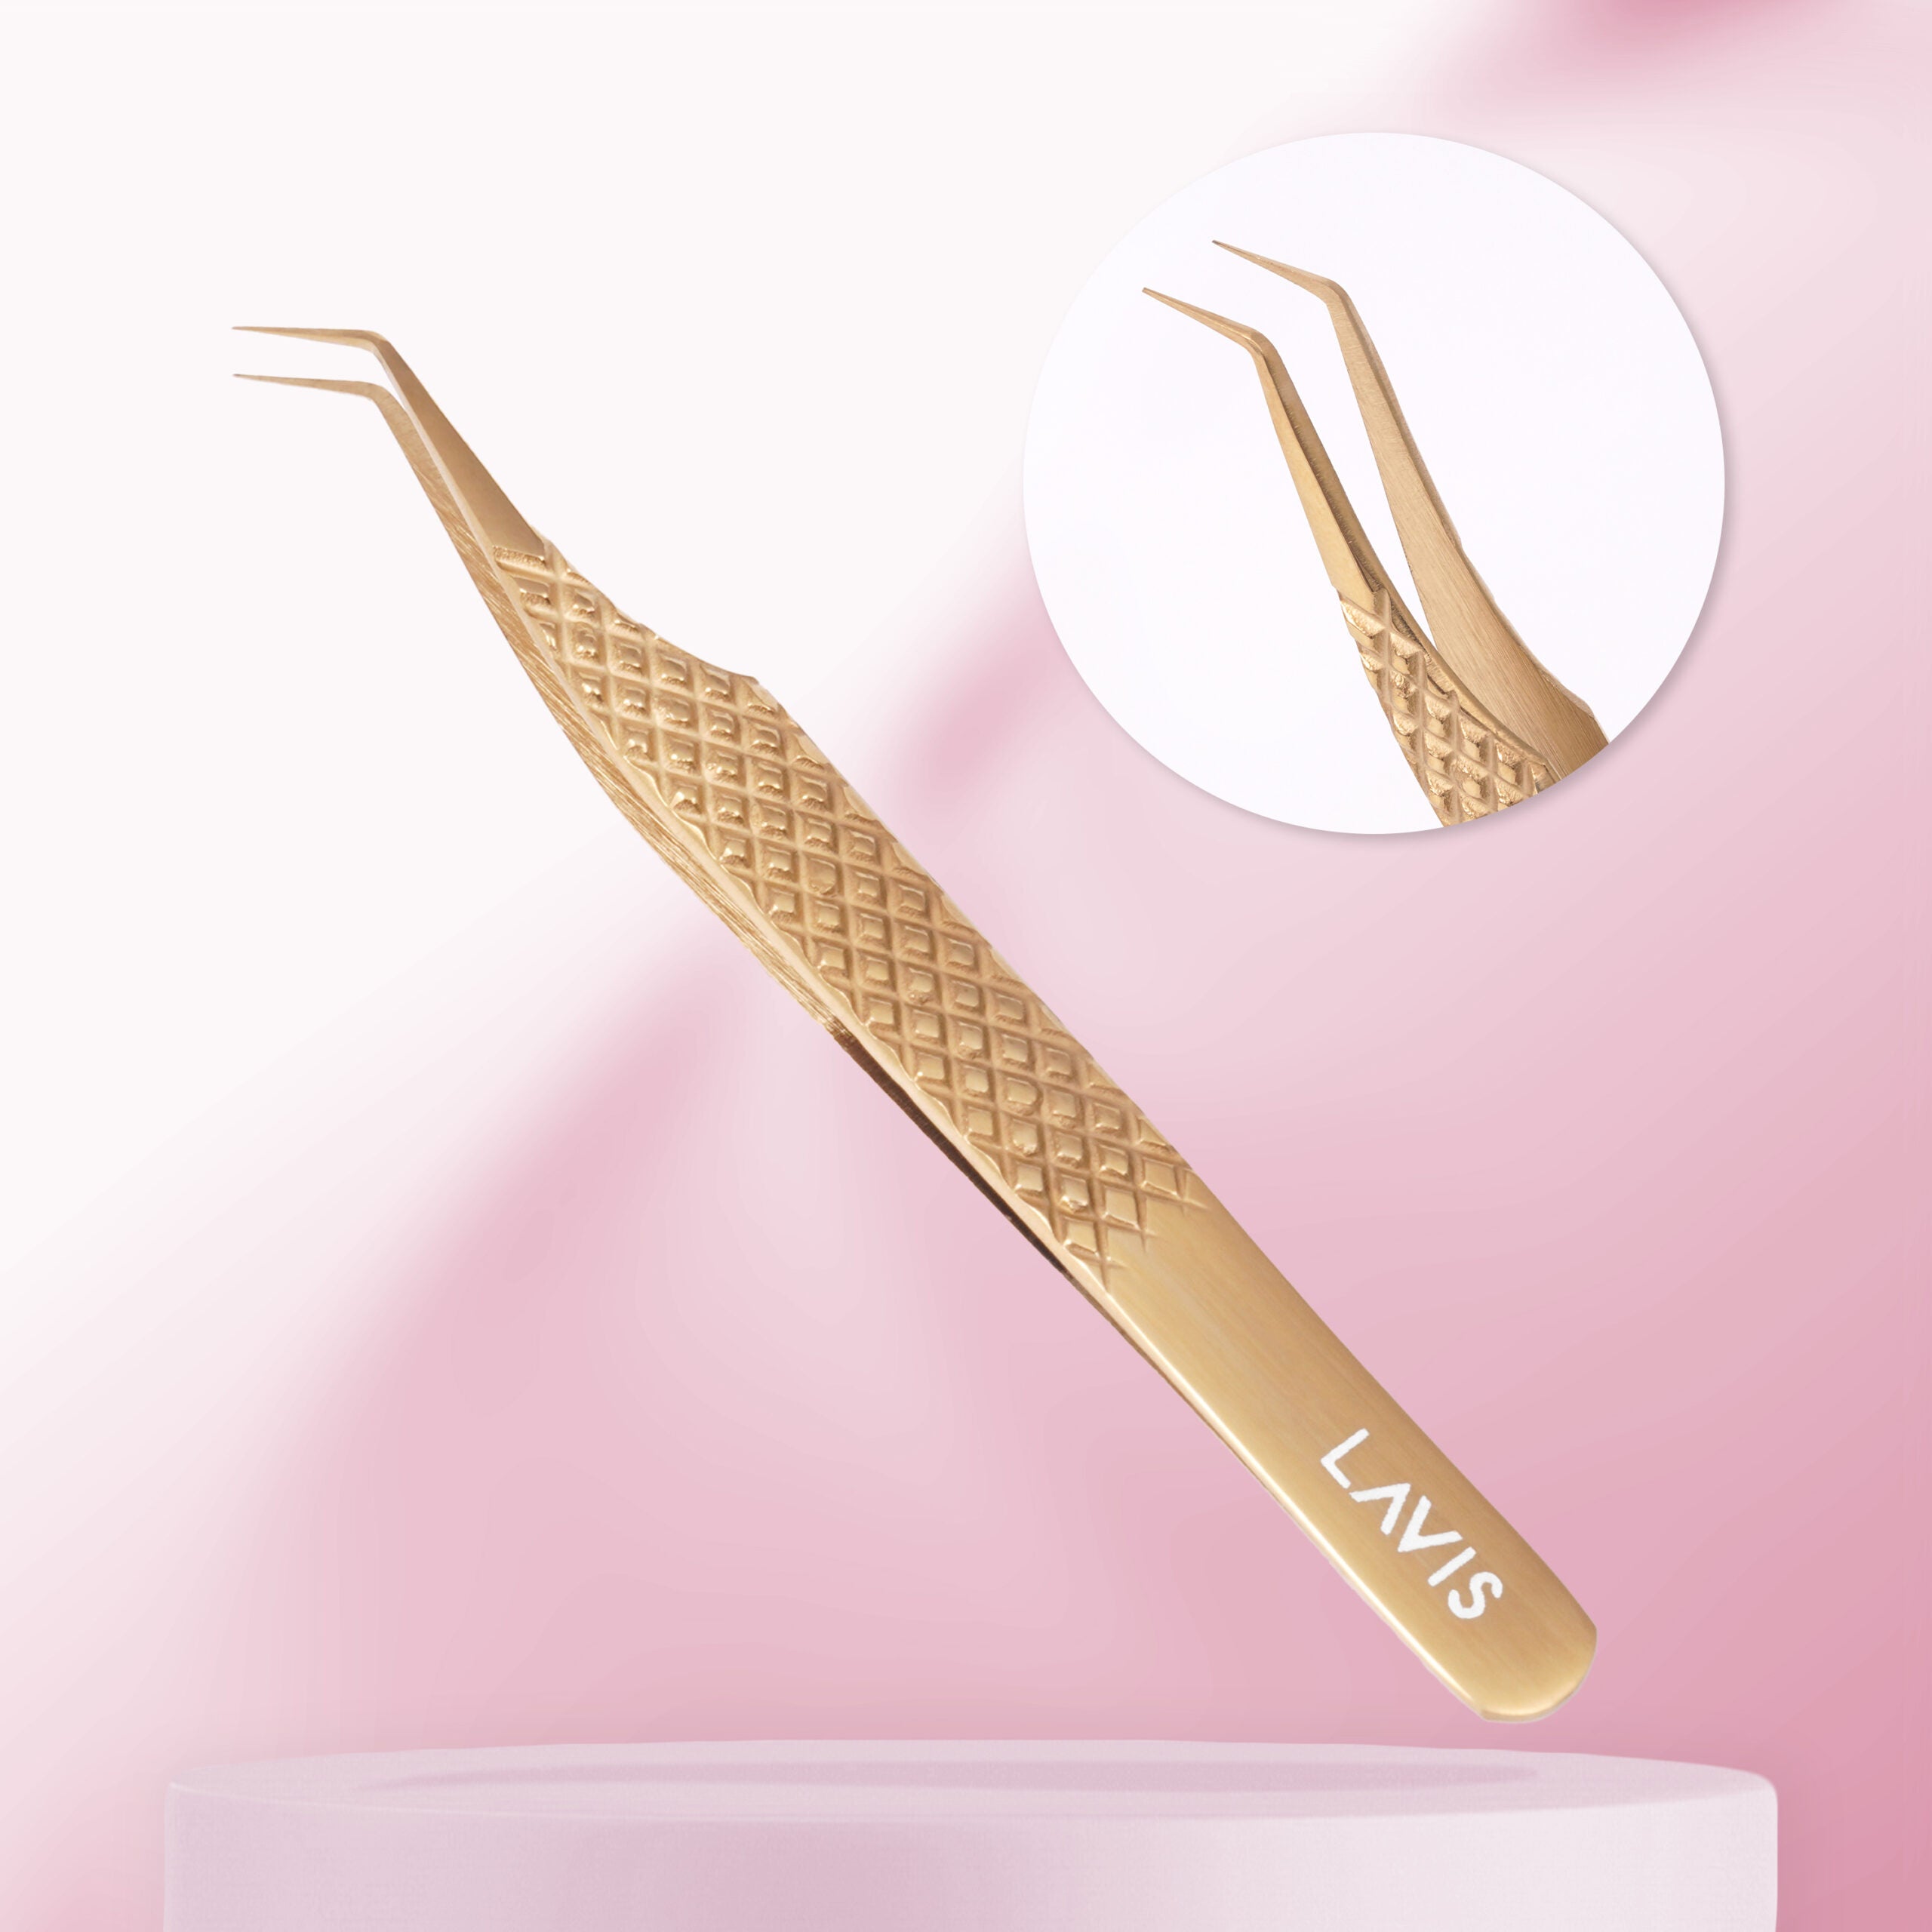
- Lash tweezers (straight and curved)
- Lash adhesive remover (for mistakes)
- Lash cleanser (for preparation and aftercare)
- Microfiber brush or disposable mascara wands
- Lint-free under-eye gel patches (optional)
- Lash adhesive tape (optional)
Step-by-Step Guide to Making Volume Fans
Now, let's go through the step-by-step process of making your own volume fans:Step 1: Preparation
Prepare your workspace by organizing all the tools and materials. Cleanse your natural lashes and ensure they are dry and oil-free.Step 2: Selecting Lash Extensions
Choose the appropriate lash extensions for your desired look. Opt for lightweight extensions to prevent damage to your natural lashes.Step 3: Removing Lash Extensions (Optional)
If you already have lash extensions on, gently remove them using a lash adhesive remover. Take your time and be cautious not to harm your natural lashes.Step 4: Picking the Right Lashes
Using a pair of lash tweezers, carefully select the desired number of lash extensions for your volume lash fan. Remember, volume fans typically consist of 2 to 8 lash extensions.Step 5: Creating the Volume Fan
Hold the lash extensions in a fanning position, ensuring the bases align. Apply a small amount of volume lash adhesive to the base of the extensions, securing them together. Hold for a few seconds to allow the adhesive to dry.Step 6: Placing the Volume Fan
Dip the base of the volume lashes into the lash adhesive. Gently place the fan on the natural lash, around 1 mm away from the eyelid. Use a gentle pressing motion to ensure proper adhesion. Repeat this step for the desired number of volume fans.Step 7: Repeat and Perfect
Continue creating and placing volume lashes along the lash line, working from the inner to the outer corner of the eye. Take breaks if needed and ensure each fan is evenly spaced for a natural appearance.Step 8: Drying and Setting
Allow the adhesive to dry completely before touching or manipulating the lashes. Follow the recommended drying time provided by the lash adhesive manufacturer.Tips and Tricks for Application
 Woman Eye with Long Eyelashes. Eyelash Extension
- Practice makes perfect: Familiarize yourself with the technique by practicing on a lash tile or mannequin head before applying volume lash fan to your own lashes.
- Use the right adhesive: Choose a high-quality, long-lasting adhesive specifically designed for volume lashes.
- Perfect your grip: Experiment with different tweezers and find a comfortable grip that allows you to create precise volume fans.
- Consistency is key: Aim for consistency in fan size, angle, and adhesive amount to achieve a seamless and natural look.
- Work in sections: Divide your lash line into sections and focus on one section at a time to maintain control and accuracy.
- Seek professional guidance: If you're a beginner or find it challenging to master the technique, consider taking a professional lash training course.
Removing Volume Fans Safely
 To remove volume fans safely, follow these steps:
- Moisten a microfiber brush or disposable mascara wand with a lash cleanser.
- Gently brush through the lashes to loosen any debris or adhesive residue.
- Hold a lash extension with a pair of tweezers and apply a small amount of lash adhesive remover to the base.
- Slowly slide the extension off the natural lash, ensuring minimal pulling or tugging.
- Repeat this process for each volume fan until all extensions are removed.
- Cleanse the lashes with a lash cleanser to remove any remaining residue.
- If needed, seek professional assistance for safe and effective lash removal.
Dos and Don'ts for Maintaining Volume Fans
Dos:- Gently cleanse your lashes with a lash cleanser to remove debris and maintain hygiene.
- Brush through your lashes daily with a microfiber brush or disposable mascara wand to prevent tangling.
- Follow the aftercare instructions provided by your lash technician or adhesive manufacturer.
- Schedule regular touch-up appointments to maintain the desired look and address any lash extensions that may have shed.
- Avoid rubbing or pulling your lashes, as this can cause damage and premature shedding.
- Refrain from using oil-based products near the lash line, as they can break down the lash adhesive.
- Resist the temptation to pick or remove lash extensions yourself, as this can harm your natural lashes.
- Do not expose your lashes to excessive heat or steam, as it can weaken the lash adhesive.


Leave a comment